photoshop

More Fun With PhotoShop AI

More Fun With PhotoShop AI

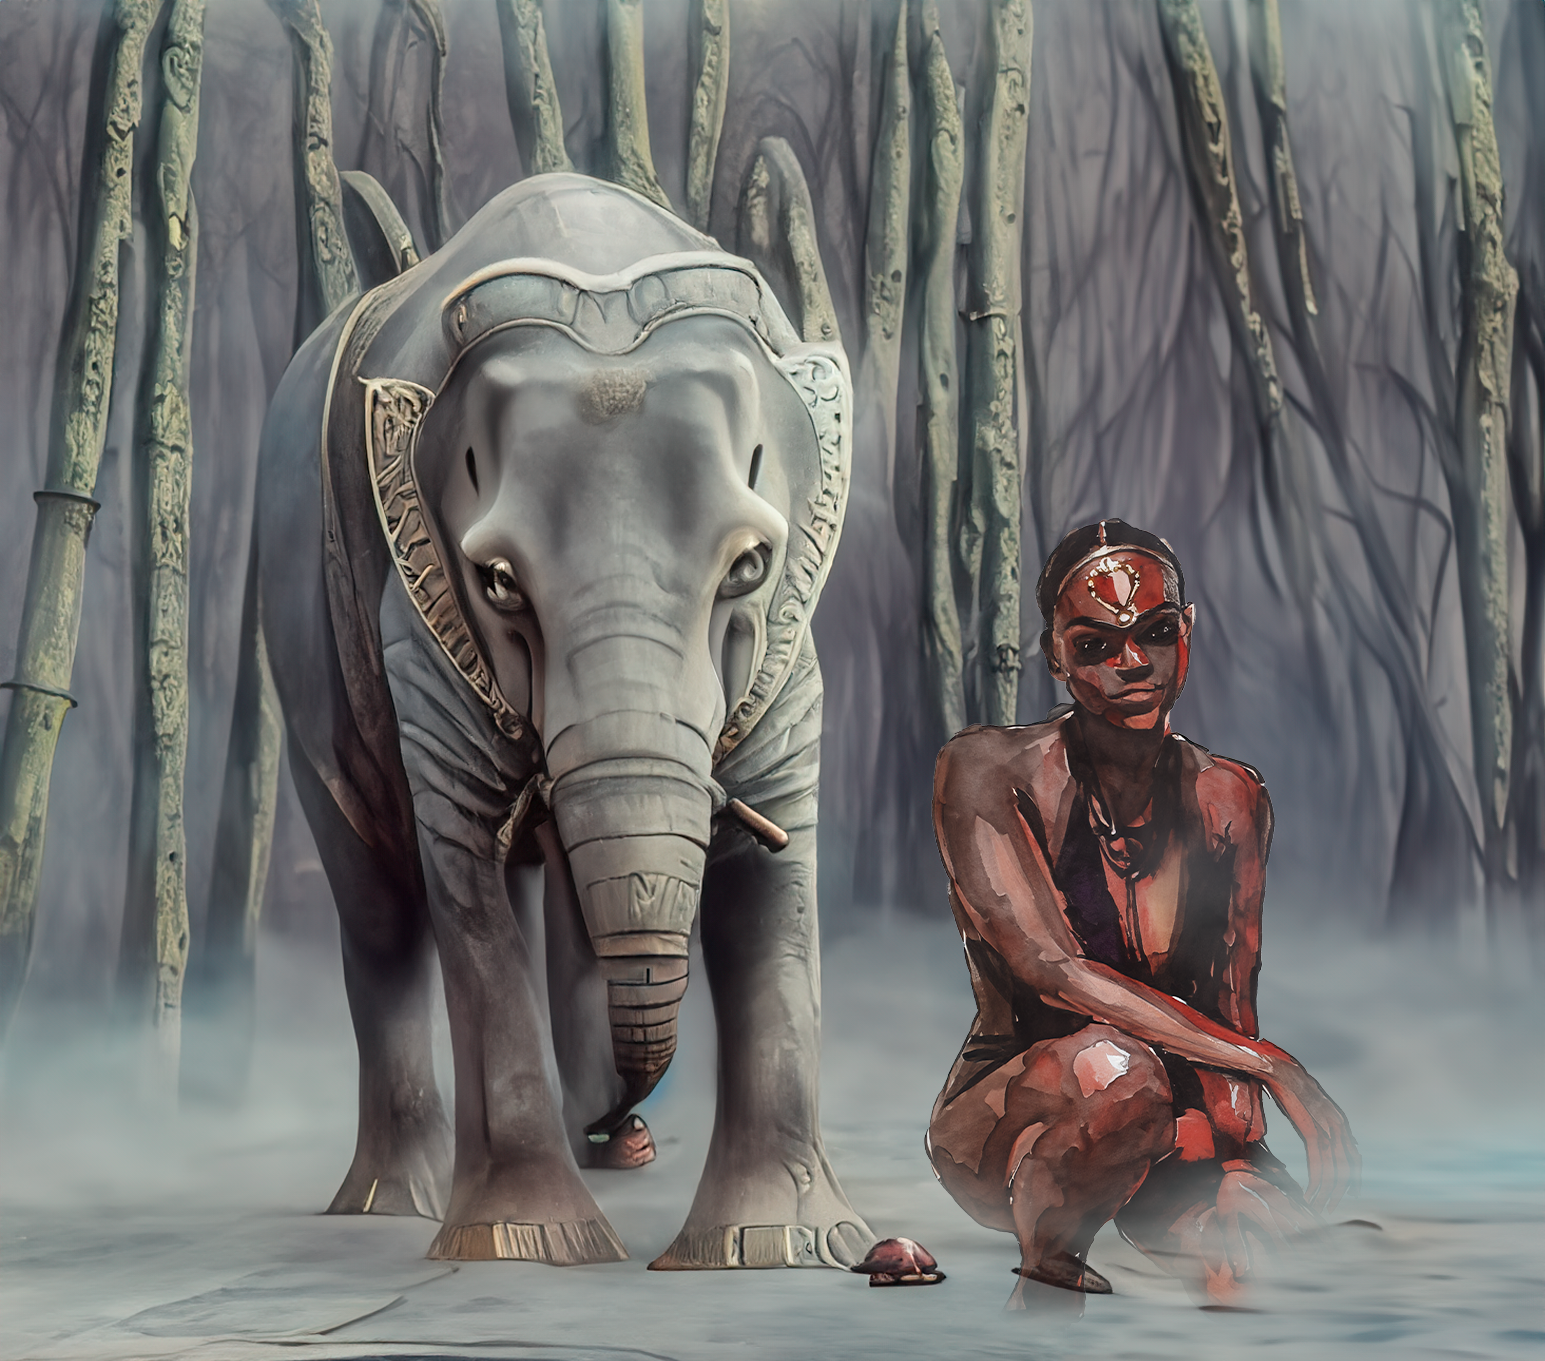
Layers and Layers In PhotoShop

I try as much as possible to use only my own photos when I’m doing these images.  Various models from my years of shooting and backgrounds.  Sometimes I’ll just cruise through my collection of photos for ideas.  That’s how I came up with the ‘elephant’ and warrior girl image.  I’d done one with just the girl and a background (also, mine) and when I started messing with the image of the elephant I realized what a great combination those two photos would make.  The bamboo was the actual background behind the elephant at the Portland Zoo.

In the image with the owl: started with a portrait of the girl.  The owl was sitting in a tree at a campground on Vancouver Island some years back.  Took some time to finalize that composite image.

Posted by Martin in Blog, 0 comments
How To Paint In Photoshop

How To Paint In Photoshop

Painting Over Photos In Photoshop

There are lots of  videos and articles online for using layers and filters to create a painting from a photo using Photoshop.  I’ve put a couple of links at the end of this article where the author is using a Pixelate layer and an Oil Paint Effect layer.  And for the type of image being used, trees in the countryside with lots of leaves, I would likely use the same procedure.

I’ve been wanting to make some of my portraits into paintings for a long time. Using the settings with various filters, I’ve not been able to get the desired effect.  Nothing I was really happy with.  Not the effect that I have wanted to create anyway. 

So, I started using brushes.  It’s been quite a learning experience.  I want the portrait to look like a painting but with various brush sizes and types. 

Painting With Brushes

First of all I open the image in Photoshop and duplicate the layer.  Pick one to use and ‘hide’ the other. 

Go to: ‘Select’ at the top menu (in PS), dropdown menu: click ‘Subject’. 

Give it a moment and the subject should be selected out. 

Next click ‘Select’ again and hit ‘Inverse’ in Dropdown menu.  Then dropdown: ‘Delete’.  Then Dropdown: ‘Deselect’.  You should be left with the subject only.  Use the Eraser tool if there are some bits left over.

Save that cut out image to your image folder.

I usually make a duplicate of that cutout in case I mess up in the painting step. 

Then I use brushes on the image.  There are legacy brushes in Photoshop.  I started with these.  Using the Mixer Brush Tool allows me to use and spread the colours of the image.  Use the settings along the top to how much you want to ‘load’ or not on your brush.  How ‘wet’ or ‘dry’ etc.  That’s a matter of learning the settings and what you like or not.

Adjust your settings to use the colours of the image, how much to load, etc.  That part takes practice in finding what works for you and will likely be different for various parts of the image over which you are ‘painting’.  First couple of times I did this, I used one brush for the whole image adjusting size and sometimes orientation. 

Later I started searching out other brushes to use.  There are lots of free brushes one can download.

You can also make your own brushes for photoshop.

Over time I’ve downloaded numerous brushes.  Not all do I find useful.  Fortunately, there is a way in the brush settings to move the brushes around so that you can create your own brush sets.  Put your favourites on one or two places and label them as you like.

That doesn’t stop my search, though, for the best brushes.  There are so many free brushes out there, it is kinda overwhelming.  I’ve never really painted with real paint and hand held brushes.  I might be able to now.

This technique of covering each square centimetre of your painting with a brush stroke is time consuming.  But with patience, I get what I want.  And as I practice, I get closer and closer to what I have envisioned for each piece.  Sometimes I’m not sure where I’m going and let the “paint” and “brushes” take me.  Love the process of learning.

Once I’ve treated the photo with the brushes, I make an image to be an overlay or background.  Or use one I’ve already made.  I either embed the background over the portrait and set the blending mode to Overlay.  Default is 'Normal'.  Or I open the background I've created and embed the painted portrait onto that. 

Then I might soften the edges between the two images using a blur tool to blend the two.  You can also merge the two and use your mixer brush tool to brush the edges.

At that point I can get completely carried away and embed several smaller images into different parts of the overall image using layers. 

Oil Painting your photo in Photoshop

Have a look here for samples of Martin's Headshots and Portraits

Posted by Martin in Blog, 0 comments