lightroom

How to Choose a Frame, Size and Shape for Your Photos

How to Choose a Frame, Size and Shape for Your Photos

How to Choose a Frame, Size and Shape for Your Photos

Golden Rectangle

Often when editing my photos with Lightroom, I’ll crop or shape the size to a ratio of 1.618 to 1.0  This is called the Golden Rectangle.

So, you would then have a rectangle with one side equal to 1.0 and the other 1.618.  Whatever size.  If the short side of the photo was 10 inches then the long side would be 16.18 inches.  For me this works way better for horizontal images than it does for the vertical.

An interesting note is that .618 to 1.0 is the exact same ratio.

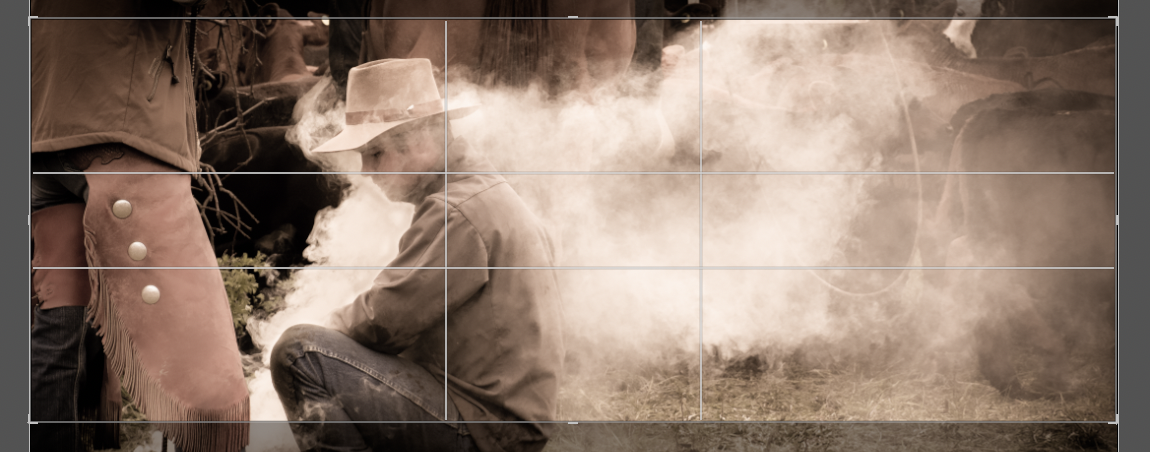
Using Lightroom (Software I use for photo editing) you have various options for what is called overlay lines.  You can place these lines over the photo temporarily for size, shape and placement of objects in the frame.  One of the options is these intersecting lines that are the exact 1.618 ratio.  The Golden Ratio.  The four points where the lines cross: these are what you can use as a focal point.  The eye naturally goes to these.

Here you can see the 'overlay' of the lines with these measurements:

Then there is the positioning of the elements in the image. 

The ratio of 1.618 or .618 is then applied to the image itself resulting in four lines that intersect. 

Each line drawn from .618 distance from one edge. 

See here:

These lines and the four intersecting points are what you want to use for design or editing.  You could use one of the horizontal lines for the horizon as an example.  Upper line for less sky and lower for more sky.  That part is all about taste.  You can see in the above image, that the upper horizontal line is even with the horizon in the picture.  And the intersection of the top horizontal line and left vertical line are right on the eye of the cow.

A vertical line in a horizontal image might be used to place the main part of an object. 

And again in the photo below, the bottom horizontal line is even with the horizon. 


Intersecting Lines

The four points where the lines cross: these are what you can use as a focal point.  The eye naturally goes to these areas.

In this photo I have used the cowboy's eye as a focal point.

Framing

When I'm editing a photo I use this technique and post to my website or some other social media. Much more impact than an 8"x10".  It has a lot to do with the above information.  One can still use these ratios with other shapes of photos but generally less impact. 

The biggest issue, then, with producing prints and getting them framed, is that there are no standard frames made to the Golden Rectangle Ratio.  

When you wish to purchase, and have framed, a photo you like, you are limited to available framing.  None of which are true to the Golden Ratio.  The only way to do this properly would be to have your image printed with this ratio and get a custom frame.  Which can be costly.

The closest ‘standard’ size that I’ve been able to find is 11”x17”.  This size is slightly shorter from side to side. There are some other larger sizes that come close as well. 

I would edit the photo and object placement within the frame using The Golden Ratio on any shape image. 

I hope this helps.
Posted by Martin in Blog, 0 comments
Photographing Men

Photographing Men

I find there is quite a difference photographing men to photographing portraits of women.  The way I shoot and approach my subjects anyway.  Perhaps I’ve changed over the years and become a bit seasoned with age.  Don’t know for sure. 

Posing, editing, lighting, all these I do a little differently.  It has been said that one should first learn the rules extremely well, and only then one can or should be able, if one wants, to break them.[read more]

Shoot one style to the point there is no ‘thinking’ involved.  Then test the boundaries. 

It all goes back to what the photo, or you and the model, are communicating.  For example, having the shoulders of the model square on to the camera is normally a pose for a man or boy.  Women often, one might pose with one shoulder back and the other forward.  One pose is more aggressive than the other.  One might be interpreted to invite you in whereas the other might be telling you to piss off. 

One of the aspects of photographing men I’ve come to like is being able to play more with textures and contrasts in the editing.  Generally, it is frowned upon to show a woman’s ‘flaws’.  Again, it’s all about how and what you are trying to communicate.  A bit of what is accepted and what people want to view. 

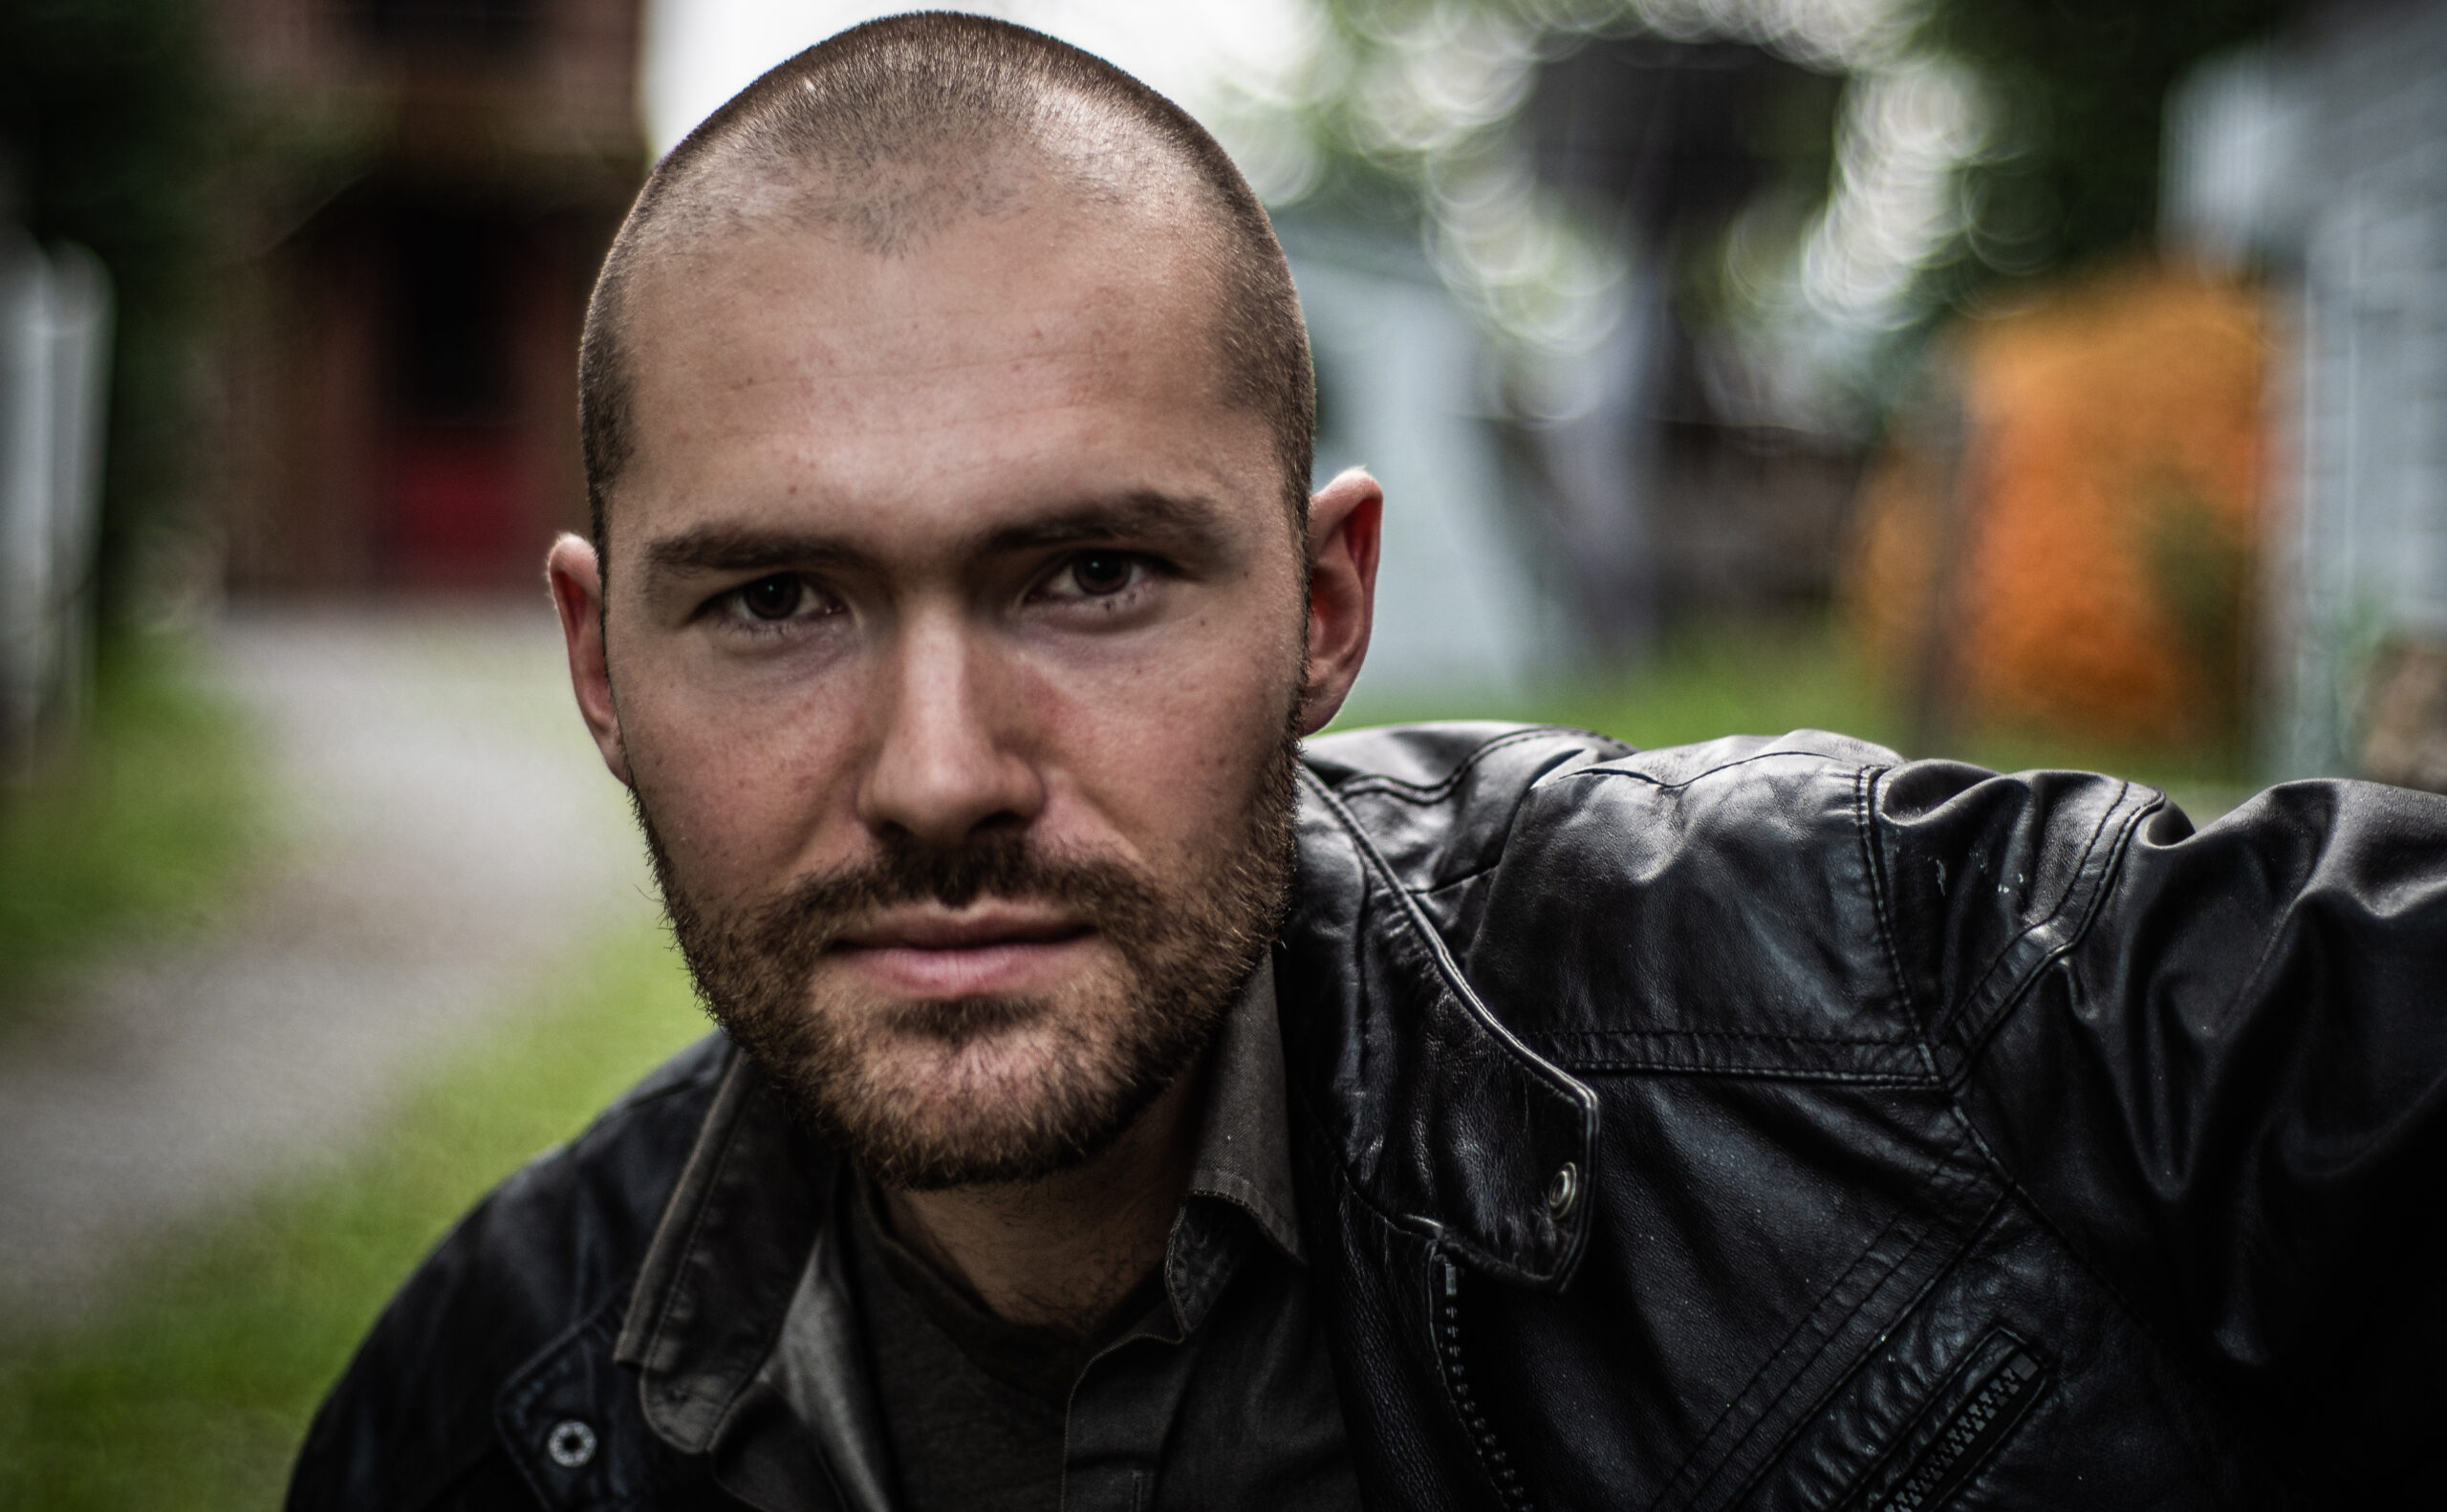
That said, check out these few photos of Jordan.  He should likely be modelling but that’s up to him. [/read]

Female Artistic Nudes here

#headshot #portrait #blackandwhite #portraiture #serious

Posted by Martin in Blog, Photography Tips, Portraits, 0 comments
Lightroom Workflow

Lightroom Workflow

Lightroom

This is my workflow for portraits/headshots. I’m sure that I do other stuff than this but here is a general outline:

  1. If needed, lighten exposure to see enough detail
  2. Crop to desired shape.  Use the Golden Rectangle.  Use Command-O  to change overlay.  Place a key element at ‘cross lines’.Or have one of the vertical lines go up through centre of face, for example in a portrait.
  3. Overall: I play with Exposure/Contrast/Clarity/Saturation to get the balance the way I like.  If I up the Clarity and Contrast almost always drop the Saturation. 
  4. I’ll also play with the Highlights/Shadows/Whites/Blacks.  This can open up shadows and tone down the highlights if necessary.
  5. Eyes: Adjustment Brush (I bought Sean Archer’s Lens Lab add ons  for the Adjustment Brush.  They are really handy.  https://lenslab.com/products/sean-archer-collection)
  6. Iris enhancement: If the eyes are pretty much evenly lit, I do both with same overlay.  If they have different amounts of light, I click ‘new’ for each iris.  Don’t overdo them but bring them up so that they can be seen.  If you are shooting outside and there is no ‘glint’ in the eye from a reflector, this will help with that. 
  7. Dark edge of iris: Click ‘New’ on Adjustment Brush and go to ‘Darken’.  Use your mouse to make circle small.  (You can also use the square brackets for this [ ] to make bigger or smaller.  Sometimes better control of the size this way.) Go around the very edge of the iris, not going onto the white of the eye. 
  8. Whiten eyes: Click ‘New’ on Adjustment Brush and click on ‘Lighten’.  Go over the white parts of the eyes.
  9. Click ‘New’ again and use ‘Lash and Brow Sharpen’ 
  10. Now but often later when I have done some other stuff, I may use ‘Lighten’, ‘Sharpen’ or ‘Clarity’ or a combination of more than on using a larger ‘circle’ over the whole eye/lid/brow area. 
  11. Whiten Teeth with Adjustment Brush.  You can customize.
  12. Lips: Use the LensLab colour of your choice.  Or just use Sharpen or Clarity
  13. Spot removal brush to get rid of blemishes.  This can be done in PS as well but pretty easy to do in LR
  14. Adjustment Brush: Soften skin or Soften Skin (light).  Depends on the skin.  Often ‘light’ is plenty.
  15. Adjustment brush: Lighten - use this to highlight/accent hair.  Don’t over do.
  16. Adjustment brush: Darken - Usually darken the background on portraits. Gradiently darker as it gets to the edges.  Do the whole background then hit ‘new’ leaving it on Darken and do further out in steps toward the edge.  You can also use Post-Crop Vignetting but using Darken Bruch gives you more control.
  17. Detail: For sharpening the image.  Hold the Option button down on your Mac keyboard.  Then slide the ‘Masking’ slider to the right.  This will sharpen just the edges.  Once you have got that over to 60-70 or so, you can slide the ‘Amount’ over to the right.  You may not want to use this on all photos but it’s a good tool to have.
  18. Make any other adjustments to Exposure/Clarity/etc like you did in step #3 and #4.
  19. I will then sometimes use Clarity/Sharpen/Lighten in Adjustment Brush for some piece of clothing or something in the background I may want to bring out a bit. 
  20. Photoshop: Go from LR to PS.  Use Liquify Tool to billow out the hair a bit on some of the ladies photos.
  21. PhotoShop: Get rid of any background items that are distracting.

Some more samples at my Portrait Page

#lightroom #lightroomedits #portraits #headshots #workflow #lightroomworkflow

Posted by Martin in Blog, Photography Tips, Portraits, 0 comments