Martin

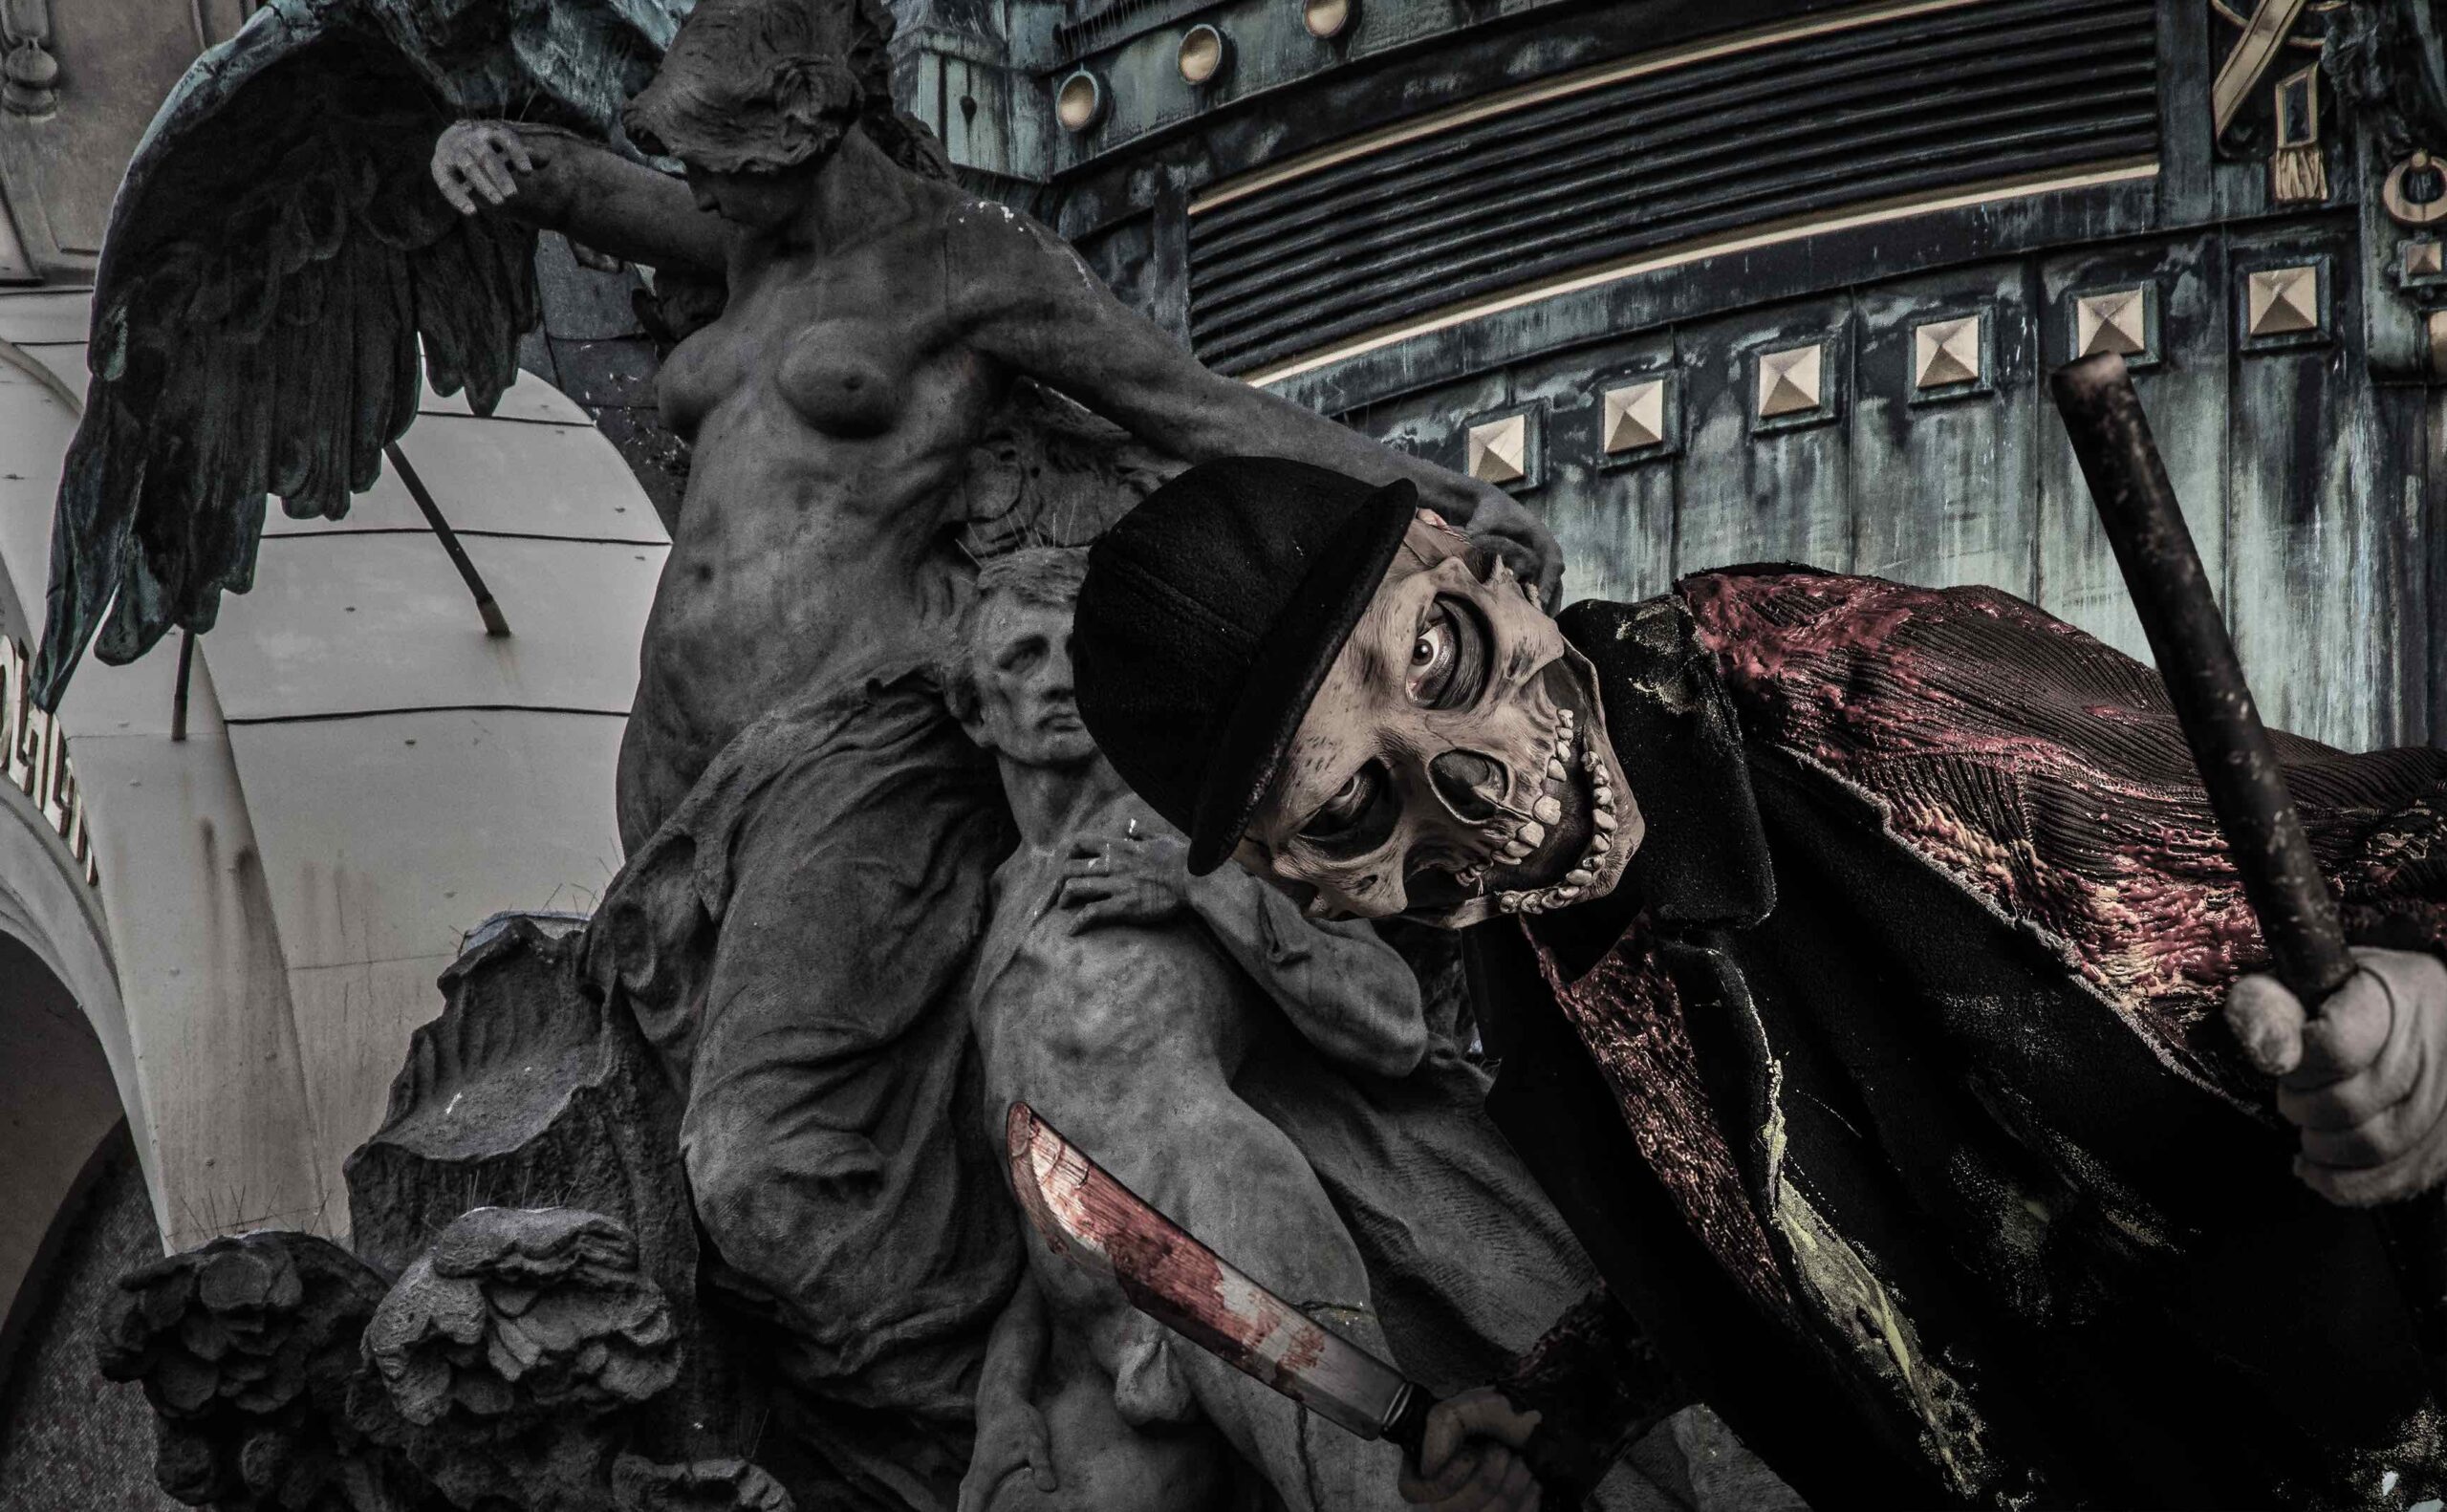
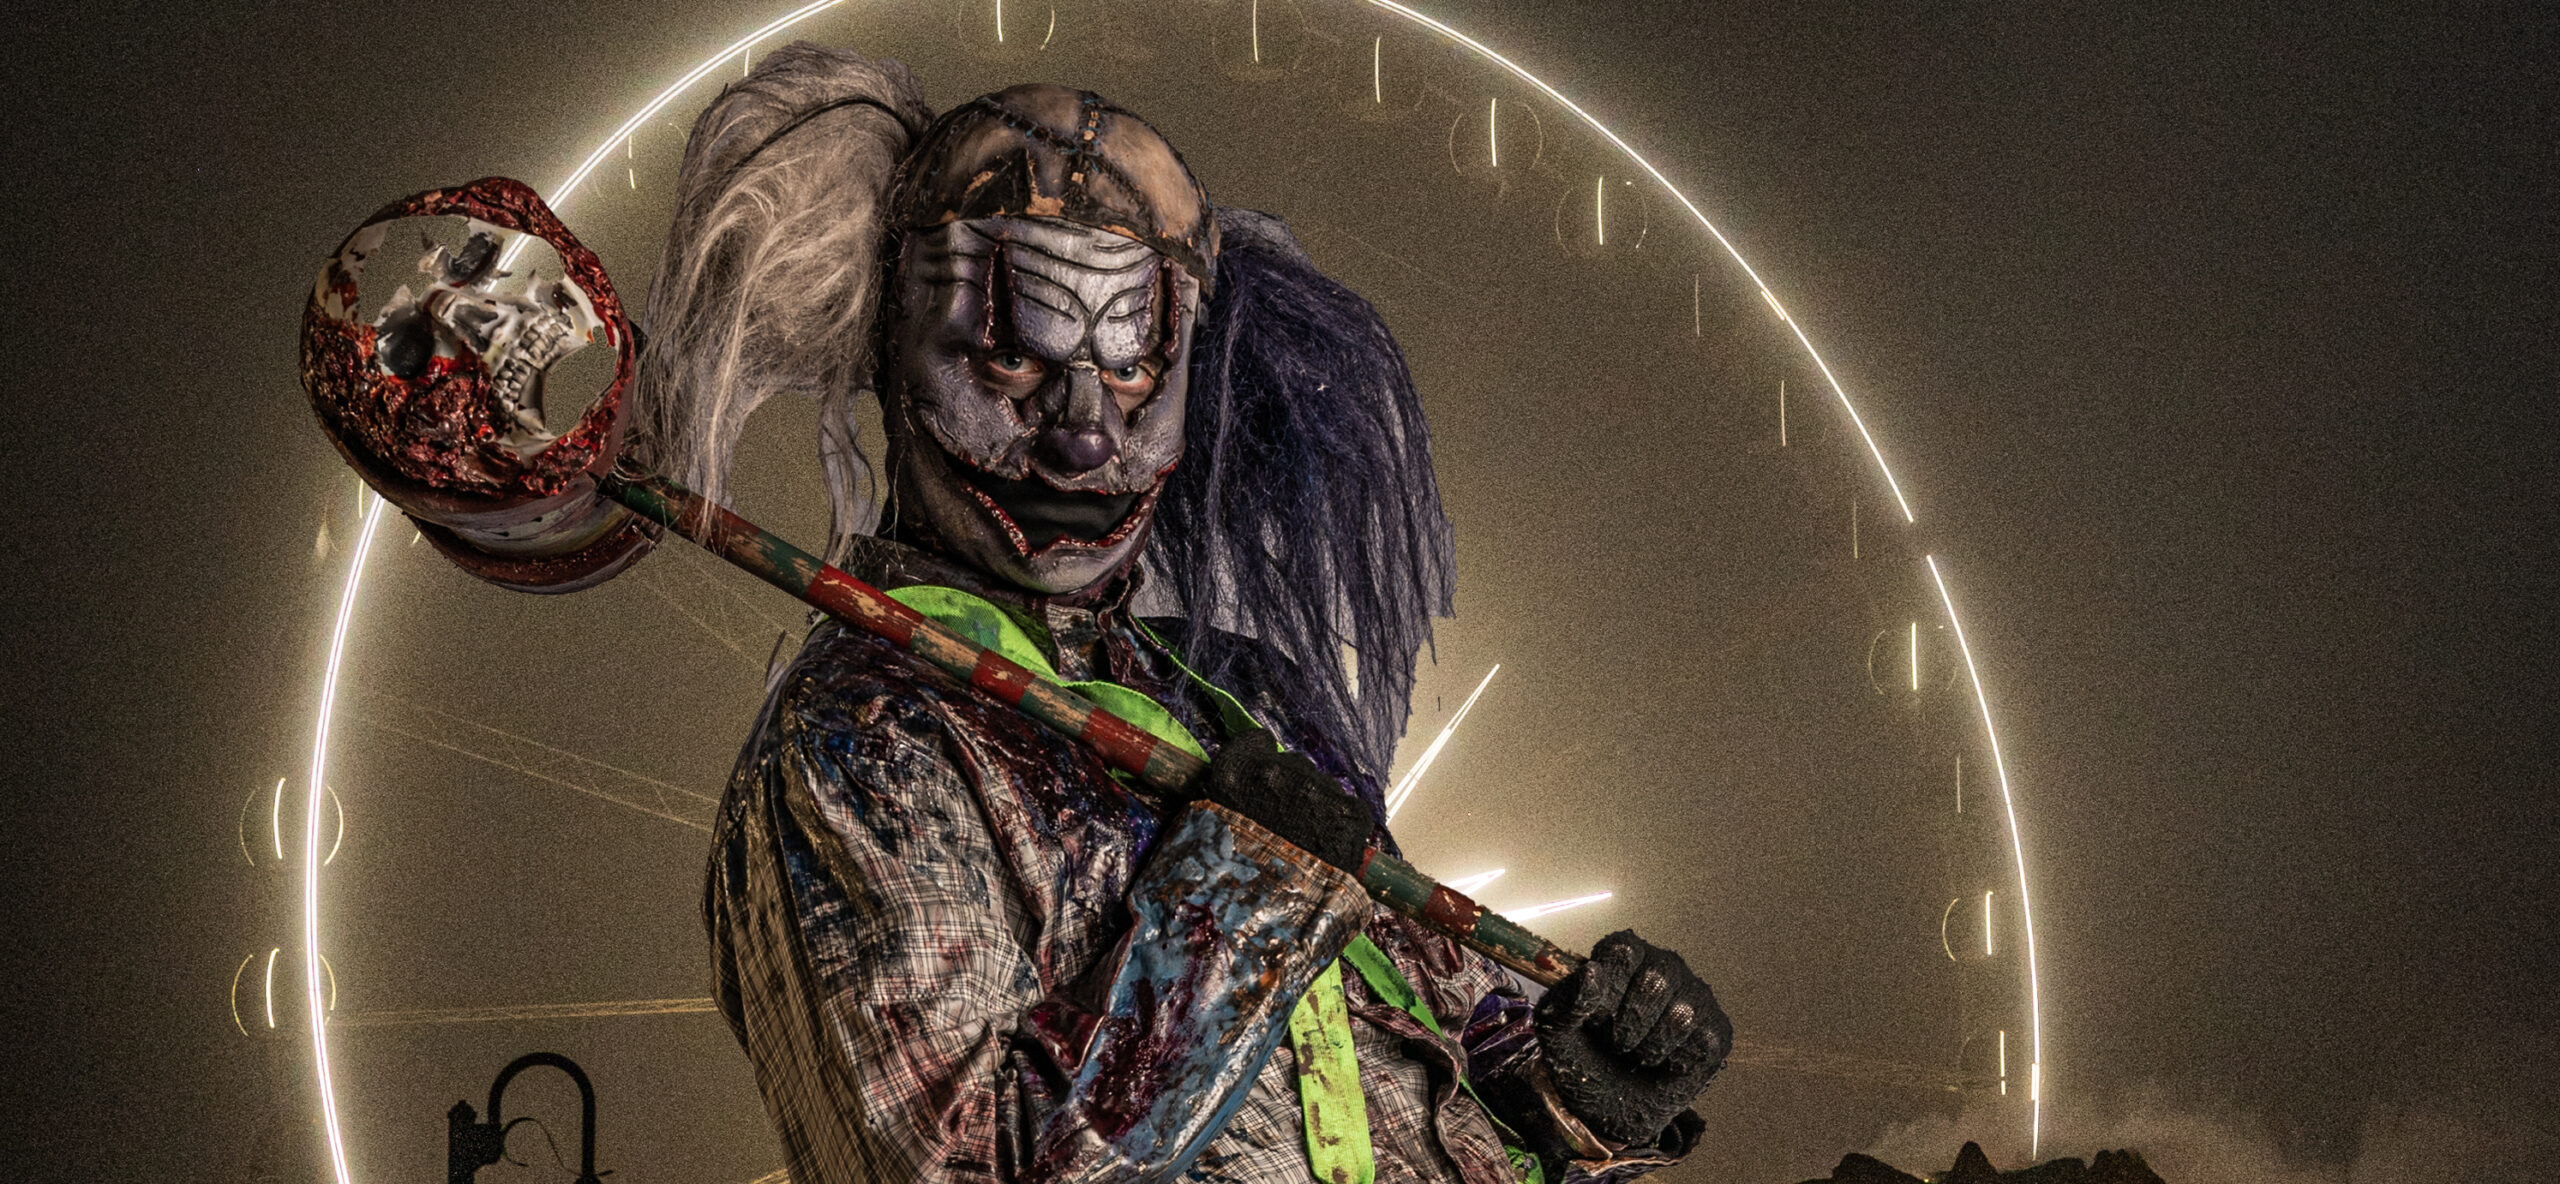
Haunt Manor Crew Photos – Niagara Falls 22 Oct 23

Haunt Manor Crew Photos – Niagara Falls 22 Oct 23

Hello Haunt Manor Actors and Actresses!

Email me to be on my mailing list: martin@photo-photo.com

Please consider a donation for the work and the photos.
I get no pay for this otherwise.

$10, $15 or $20 is fine. 

(But don't be afraid to send more if you are feeling affluent 🙂 )

-------------->    <-------------

Keep scrolling for photos with special backgrounds


Go here for all the other photos


Posted by Martin in Blog, 1 comment
Haunt Manor Actor/Actress Photos 2023 Backgrounds

Haunt Manor Actor/Actress Photos 2023 Backgrounds

Hello Haunt Manor Actors and Actresses!
There is a link below to the page with ALL the Haunt Manor photos I took 15th October.
Please consider a donation for the work and the photos. 

$10, $15 or $20 is fine. 

(But don't be afraid to send more if you are feeling affluent 🙂 )

-------------->    <-------------


Click this link to go to all the photos: Haunt Manor Actor/Actress Photos 2023

The photos on this page, as you can see, I've added some different background effects.  If you want any of these photos, let me know. All the background photos are my own as well, so no copyright issues.  I'll be doing some more so check back with me either by email: martin@photo-photo.com or come to the blog here to have a looksee.
Please, please tag me if you use any of the photos.  Link to IG @portraits.by.martin 

Click here: Haunt Manor Actor/Actress Photos 2023

Enjoy!!


Posted by Martin in Blog, 3 comments
Why Should I Get a Professional Headshot?

Why Should I Get a Professional Headshot?

Why are Professionally done Headshots important?

Why should I get a professional headshot?  How about a good selfie?

If you are your brand or you represent your brand, that first impression and what it communicates is going to be oh, so important.  Most folks make that ‘first impression’ decision within the first couple of seconds, at most.

Book Promotion Headshot

Once you have done all your surveys and you know what someone is looking for in your industry, what they are expecting to see, then you need to communicate that!

Do you want to communicate a very conservative type image, a bank manager or investor?  Dark and moody.  Bright and airy.  Approachable?  Or just a very simple headshot.  Or do you want to a portrait that shows you somehow involved in your industry?  Who are you. An Oilman, wearing a hardhat?  An executive?  Or however you want your business represented.

A good portrait photographer should be able to help you sort these issues out.  A professional headshot or portrait photographer will know lighting, posing and basic editing techniques.  These all make a huge difference in the final product/image.

Actor Headshot

There are different types of headshots:

  1. Actors headshots
  2. Executive headshots

And these can vary in what needs to be communicated.  One can go from very simple to more dramatic, showing you in your work environment.   Executive headshots can sometimes include a group of business associates.

Actors may occasionally need several different ‘looks’ for a portfolio.

And hopefully, an experienced photographer can help bring out the best parts of you. 

  1. Keep your headshot current.  Nothing worse than someone meeting you in person or on some video meeting and them having to keep their smile frozen in place because you have aged 20 years since your last photo. 
  2. Clothing.  Again, what do your potential customers, or clients expect to see?  If you are a contractor, a suit and tie might not be the best image.  Consult with your photographer as to colours that are flattering and those that show up best in photos.  Generally, solid colours are better, patterns can be very distracting.  What image are you trying to convey? 
  3. No selfies!  It is not very difficult to tell the difference between a selfie and a professional headshot.  If  you are trying to show yourself as a professional in your world, stay away from selfies or snapshots taken by friends. 
  4. Communicate to your photographer who you are trying to reach. What is your public?  What does that public look for in hiring someone in your industry?

    Wedding Dress Model

    Your headshot or portrait photographer will help tailor your photo or photos to show you the best way possible for that public.

  5. The standard headshot for years has been the ‘vertical’.  With the advent of social media, many photographers will now shoot your headshot in a horizontal frame.  Let him or her know how you are going to use the photo so you can be photographed accordingly.  Or both ways. 
  6. Let your personality shine.  Smile.  No smile. 
  7. Pricing.  $200-$400 and up.  There are photographers that charge much more.  These higher prices will often include an assistant/make-up artist that will help with make-up and hair.  If the photographer is traveling some distance to you, there may be additional cost for this as well.
  8. Are you comfortable with the photographer?  This can sometimes be a make/break point with a headshot or portrait.  He or she may be a great photographer but you just don’t click.  Talk to the photographer, meet if it is practical.  Read some testimonials. 

And have some fun with it!

Posted by Martin in Blog, 0 comments
How To Paint In Photoshop

How To Paint In Photoshop

Painting Over Photos In Photoshop

There are lots of  videos and articles online for using layers and filters to create a painting from a photo using Photoshop.  I’ve put a couple of links at the end of this article where the author is using a Pixelate layer and an Oil Paint Effect layer.  And for the type of image being used, trees in the countryside with lots of leaves, I would likely use the same procedure.

I’ve been wanting to make some of my portraits into paintings for a long time. Using the settings with various filters, I’ve not been able to get the desired effect.  Nothing I was really happy with.  Not the effect that I have wanted to create anyway. 

So, I started using brushes.  It’s been quite a learning experience.  I want the portrait to look like a painting but with various brush sizes and types. 

Painting With Brushes

First of all I open the image in Photoshop and duplicate the layer.  Pick one to use and ‘hide’ the other. 

Go to: ‘Select’ at the top menu (in PS), dropdown menu: click ‘Subject’. 

Give it a moment and the subject should be selected out. 

Next click ‘Select’ again and hit ‘Inverse’ in Dropdown menu.  Then dropdown: ‘Delete’.  Then Dropdown: ‘Deselect’.  You should be left with the subject only.  Use the Eraser tool if there are some bits left over.

Save that cut out image to your image folder.

I usually make a duplicate of that cutout in case I mess up in the painting step. 

Then I use brushes on the image.  There are legacy brushes in Photoshop.  I started with these.  Using the Mixer Brush Tool allows me to use and spread the colours of the image.  Use the settings along the top to how much you want to ‘load’ or not on your brush.  How ‘wet’ or ‘dry’ etc.  That’s a matter of learning the settings and what you like or not.

Adjust your settings to use the colours of the image, how much to load, etc.  That part takes practice in finding what works for you and will likely be different for various parts of the image over which you are ‘painting’.  First couple of times I did this, I used one brush for the whole image adjusting size and sometimes orientation. 

Later I started searching out other brushes to use.  There are lots of free brushes one can download.

You can also make your own brushes for photoshop.

Over time I’ve downloaded numerous brushes.  Not all do I find useful.  Fortunately, there is a way in the brush settings to move the brushes around so that you can create your own brush sets.  Put your favourites on one or two places and label them as you like.

That doesn’t stop my search, though, for the best brushes.  There are so many free brushes out there, it is kinda overwhelming.  I’ve never really painted with real paint and hand held brushes.  I might be able to now.

This technique of covering each square centimetre of your painting with a brush stroke is time consuming.  But with patience, I get what I want.  And as I practice, I get closer and closer to what I have envisioned for each piece.  Sometimes I’m not sure where I’m going and let the “paint” and “brushes” take me.  Love the process of learning.

Once I’ve treated the photo with the brushes, I make an image to be an overlay or background.  Or use one I’ve already made.  I either embed the background over the portrait and set the blending mode to Overlay.  Default is 'Normal'.  Or I open the background I've created and embed the painted portrait onto that. 

Then I might soften the edges between the two images using a blur tool to blend the two.  You can also merge the two and use your mixer brush tool to brush the edges.

At that point I can get completely carried away and embed several smaller images into different parts of the overall image using layers. 

Oil Painting your photo in Photoshop

Have a look here for samples of Martin's Headshots and Portraits

Posted by Martin in Blog, 0 comments
How To Prepare For Your First Nude Photoshoot

How To Prepare For Your First Nude Photoshoot

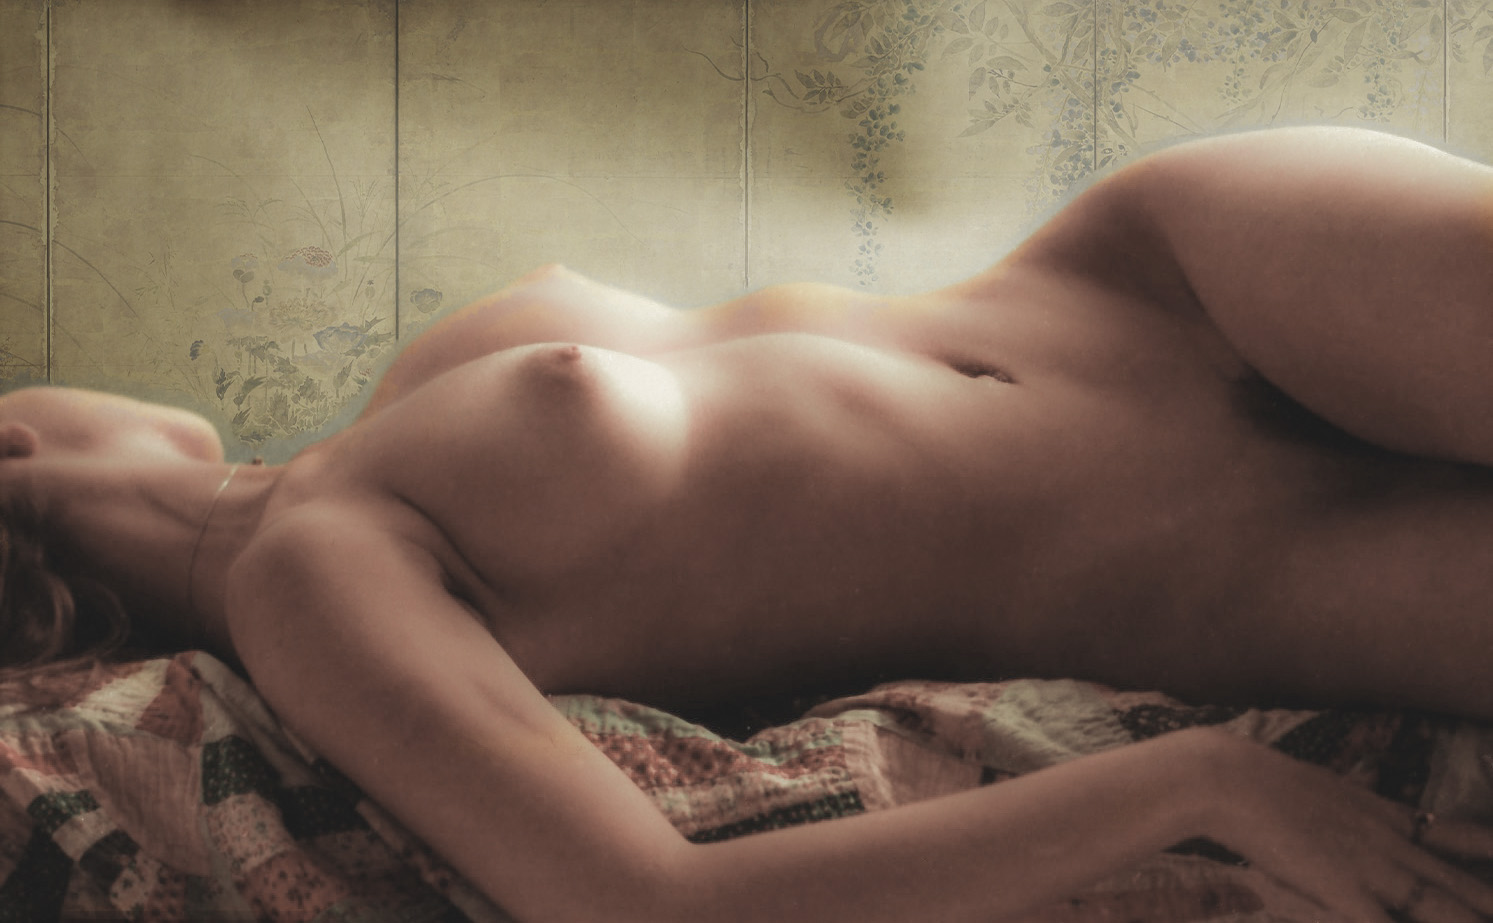
Your First Ever Nude Photos

This is from my perspective as a photographer.  The majority of nudes that you see on my website were already friends or acquaintances.  Not all but definitely a majority.  So the ‘First things first’ point (below) was pretty much covered.  Other models were generally referred to me by those already photographed in my studio. 

First things first.

You want to make sure that you are going to feel comfortable during the shoot.  Check out the work of the photographer of your choice.  You will likely have done this already. 

Once you have found a photographer whose work you like, arrange to meet before the shoot.  Make sure that you are comfortable with him or her.  You can read testimonials and ask for references if it makes you feel safer.  Feel free to talk to models who have worked with the photographer previously.

Share some ideas of what you want.  What do you want to achieve from the session?  There are lots of ideas on places like Pinterest, Flickr and other websites.  Make it clear what you will be comfortable with and what not.  This being very new, you may not be certain what you are going to be OK with.  Communicate.

As a photographer, I often set up a place on Pinterest or something similar to share ideas.

Goals

Get some ideas together to use as a starting point.  That way you have some idea of what you want to achieve.  You can get creative from there.

Practice. This goes for any type of modeling, even just for headshots.  Get in front of a mirror and get an idea of what different expressions and angles of the body will do.  Amongst other things, see what different expressions do to your face.  Does an expression that feels sultry actually look sultry?  And you likely don’t want smiles for every photo.

I’ve put a couple of links at the end, one of which is designed to help make your smile more natural.

Clothing and props.  You may feel more comfortable starting with some lingerie, a man’s large white shirt, a hat or some such.  Work into the nude poses as you get more comfortable.

Make-up and hair and general appearance. Decide what level of make-up you want.  Simple or glamour or something in between.  Having at least some basic make-up done before you arrive will help.  Bring it with you for touch-ups and for accents through the time of the photoshoot.  The same goes for hair.  Are you going to have it done before the shoot?  Do you have ways to change it up throughout the process?  Do your nails, fingers and feet.  Shave as necessary. 

Before you arrive. Stay hydrated.  Eat well.  This is important.  It will keep your skin looking clean and healthy.  No drinking and junk food for a few days at least before your appointment. Alcohol is not kind to your skin.  Arrive rested, on time and not stressed.

Put your phone away.  Silence it.  Give all of your attention to what you are doing.

The colour red.  Fingernails, toenails, lingerie.  The colour red always punches up any kind of photo.

Agreements.  As a model, establish with the photographer ahead of time what you are willing  to have shown online.  Are you OK with your face being shown in photos online or not?  Under your name? A stage name?  These things need to be stated ahead of time.

If need be, on this point, write some basic things down beforehand.  Your photographer will more than likely want to display photos from the shoot online somewhere.  He or she will not want you to have full veto, so make sure you both know what is what.  Again, communicate. 

Take a friend. If you have checked references and are comfortable with the photographer’s portfolio this is very likely not necessary.  If you do want to bring a friend, make sure that is communicated to the photographer.  Ideally, there is an adjacent room where your friend can sit and read a book. 

Relax. Find a way to relax and have fun with it.  Have some music playing in the background that you like. 
Posted by Martin in Blog, 0 comments