
3 Things My Mother Taught Me About Photography Mom was a pretty decent photographer. She was first a single mother of 4. In 1978 when […]
Blog
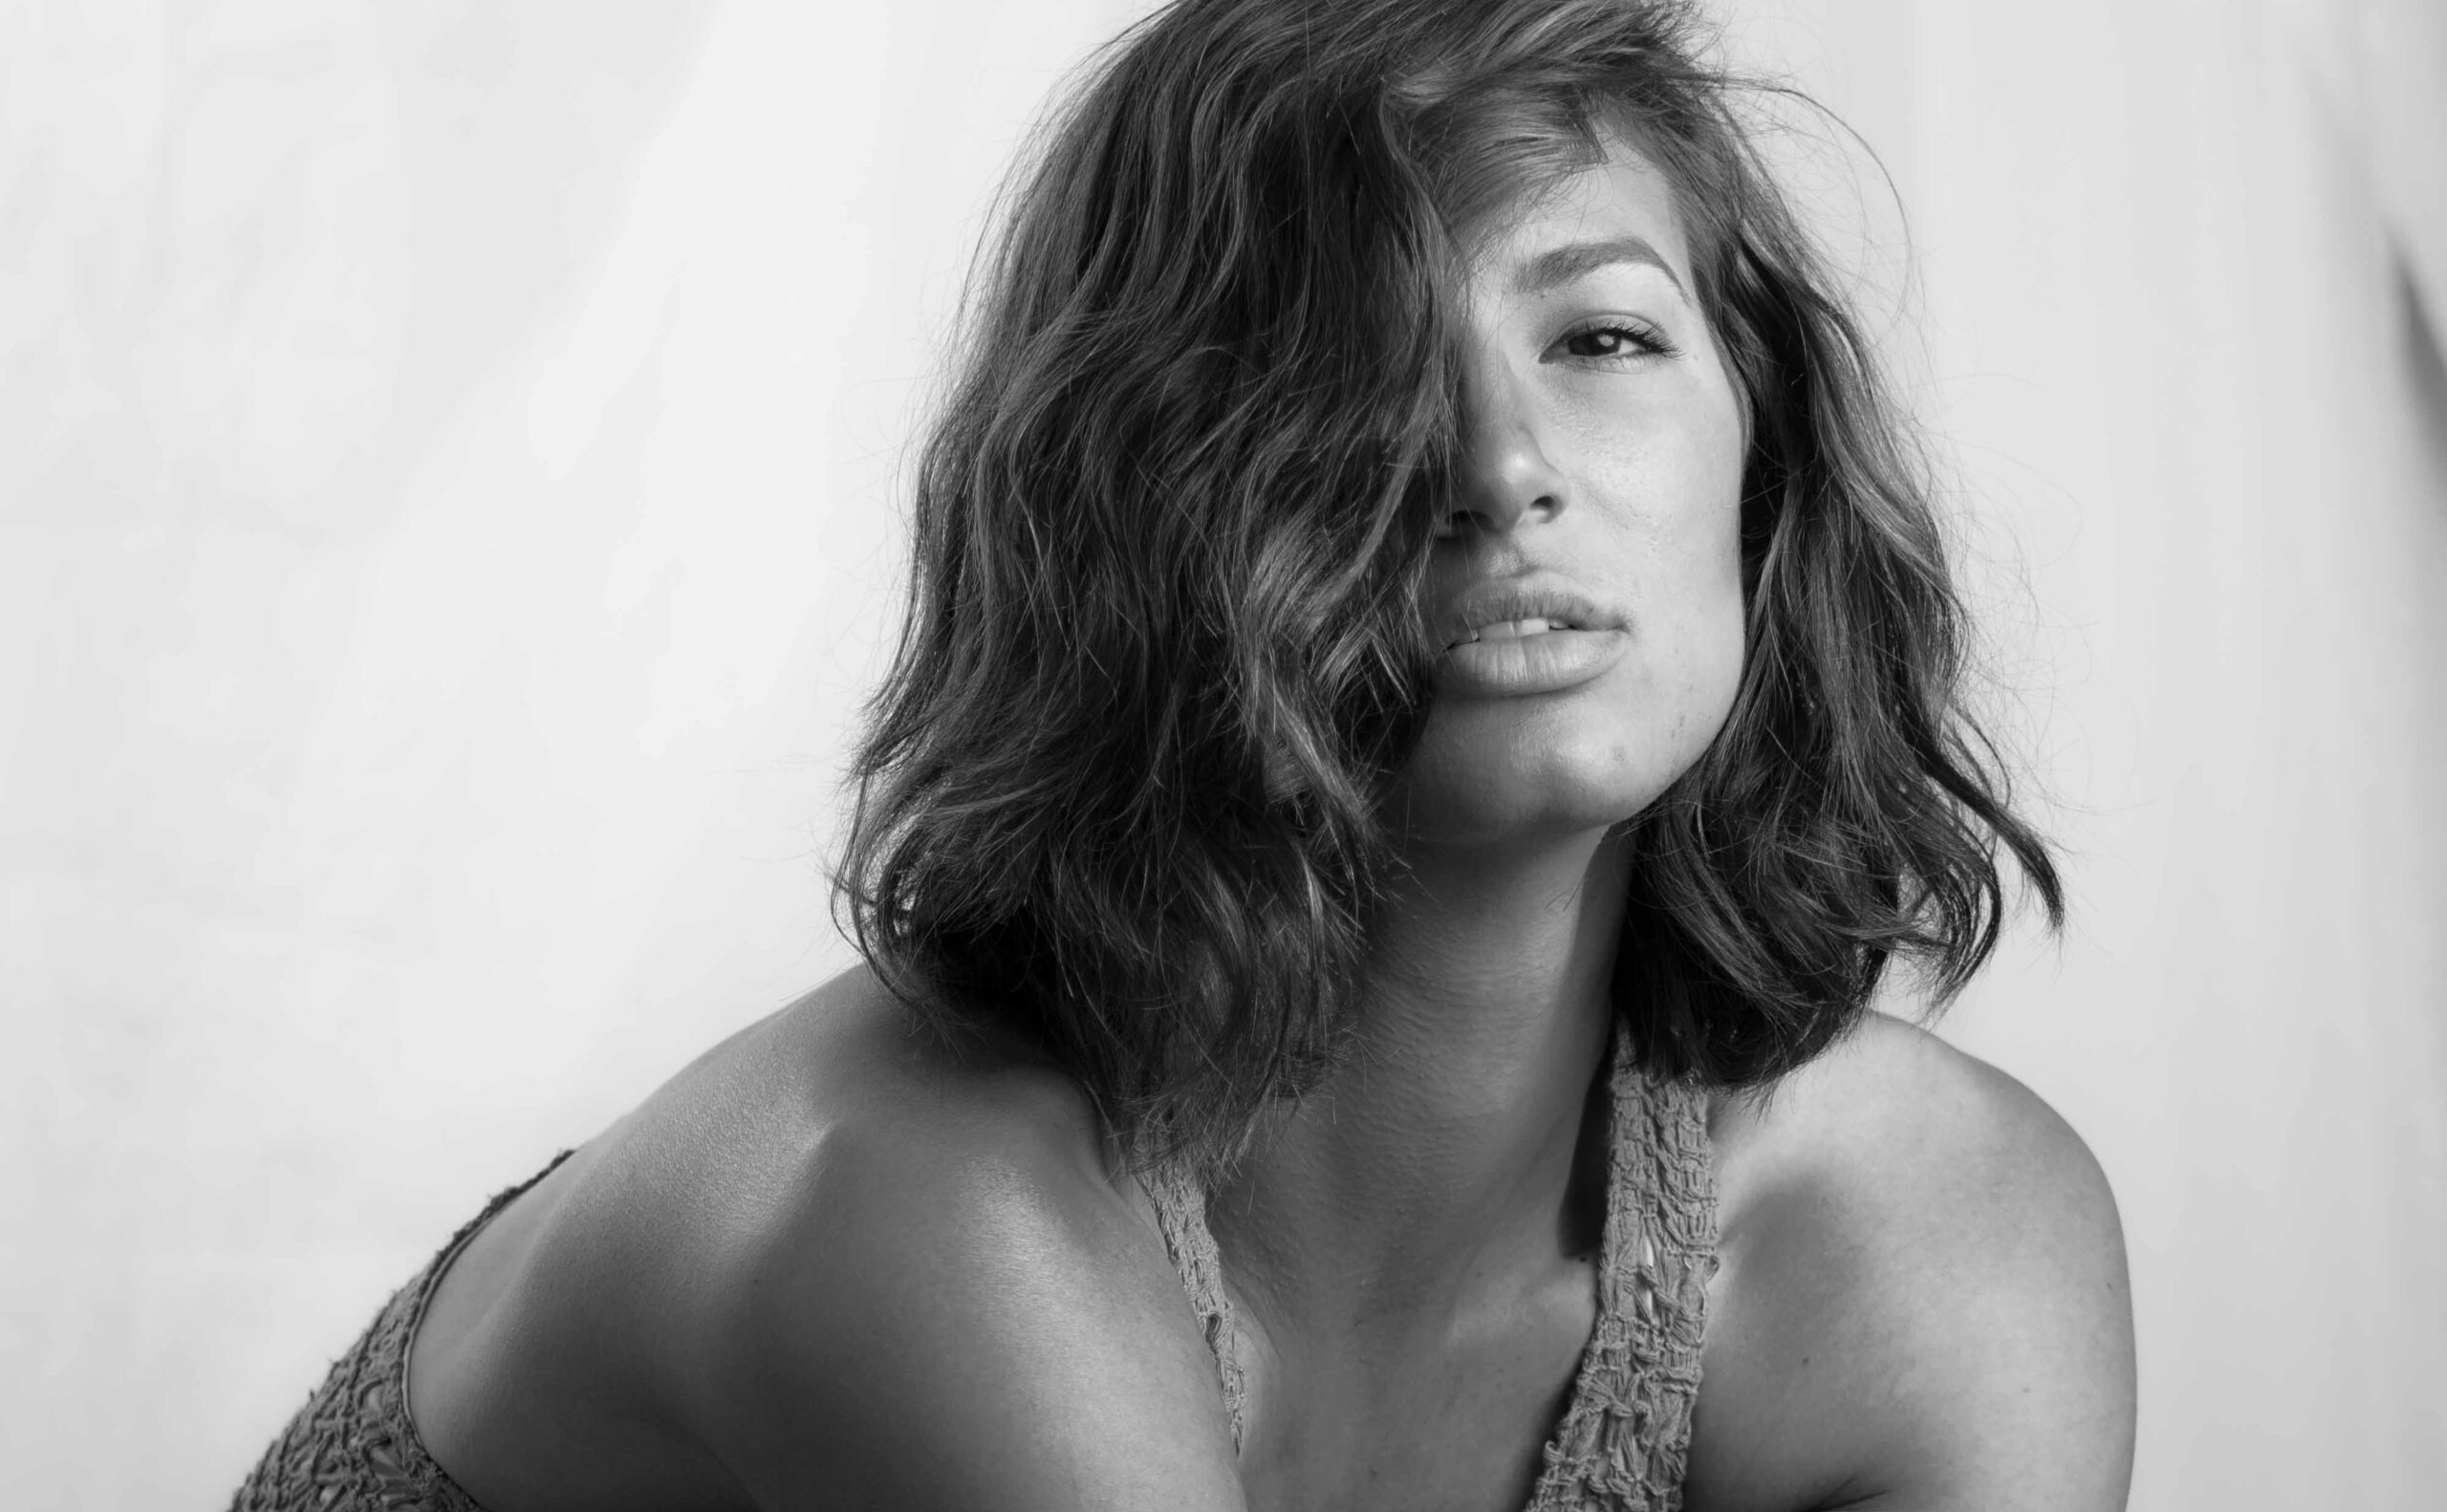
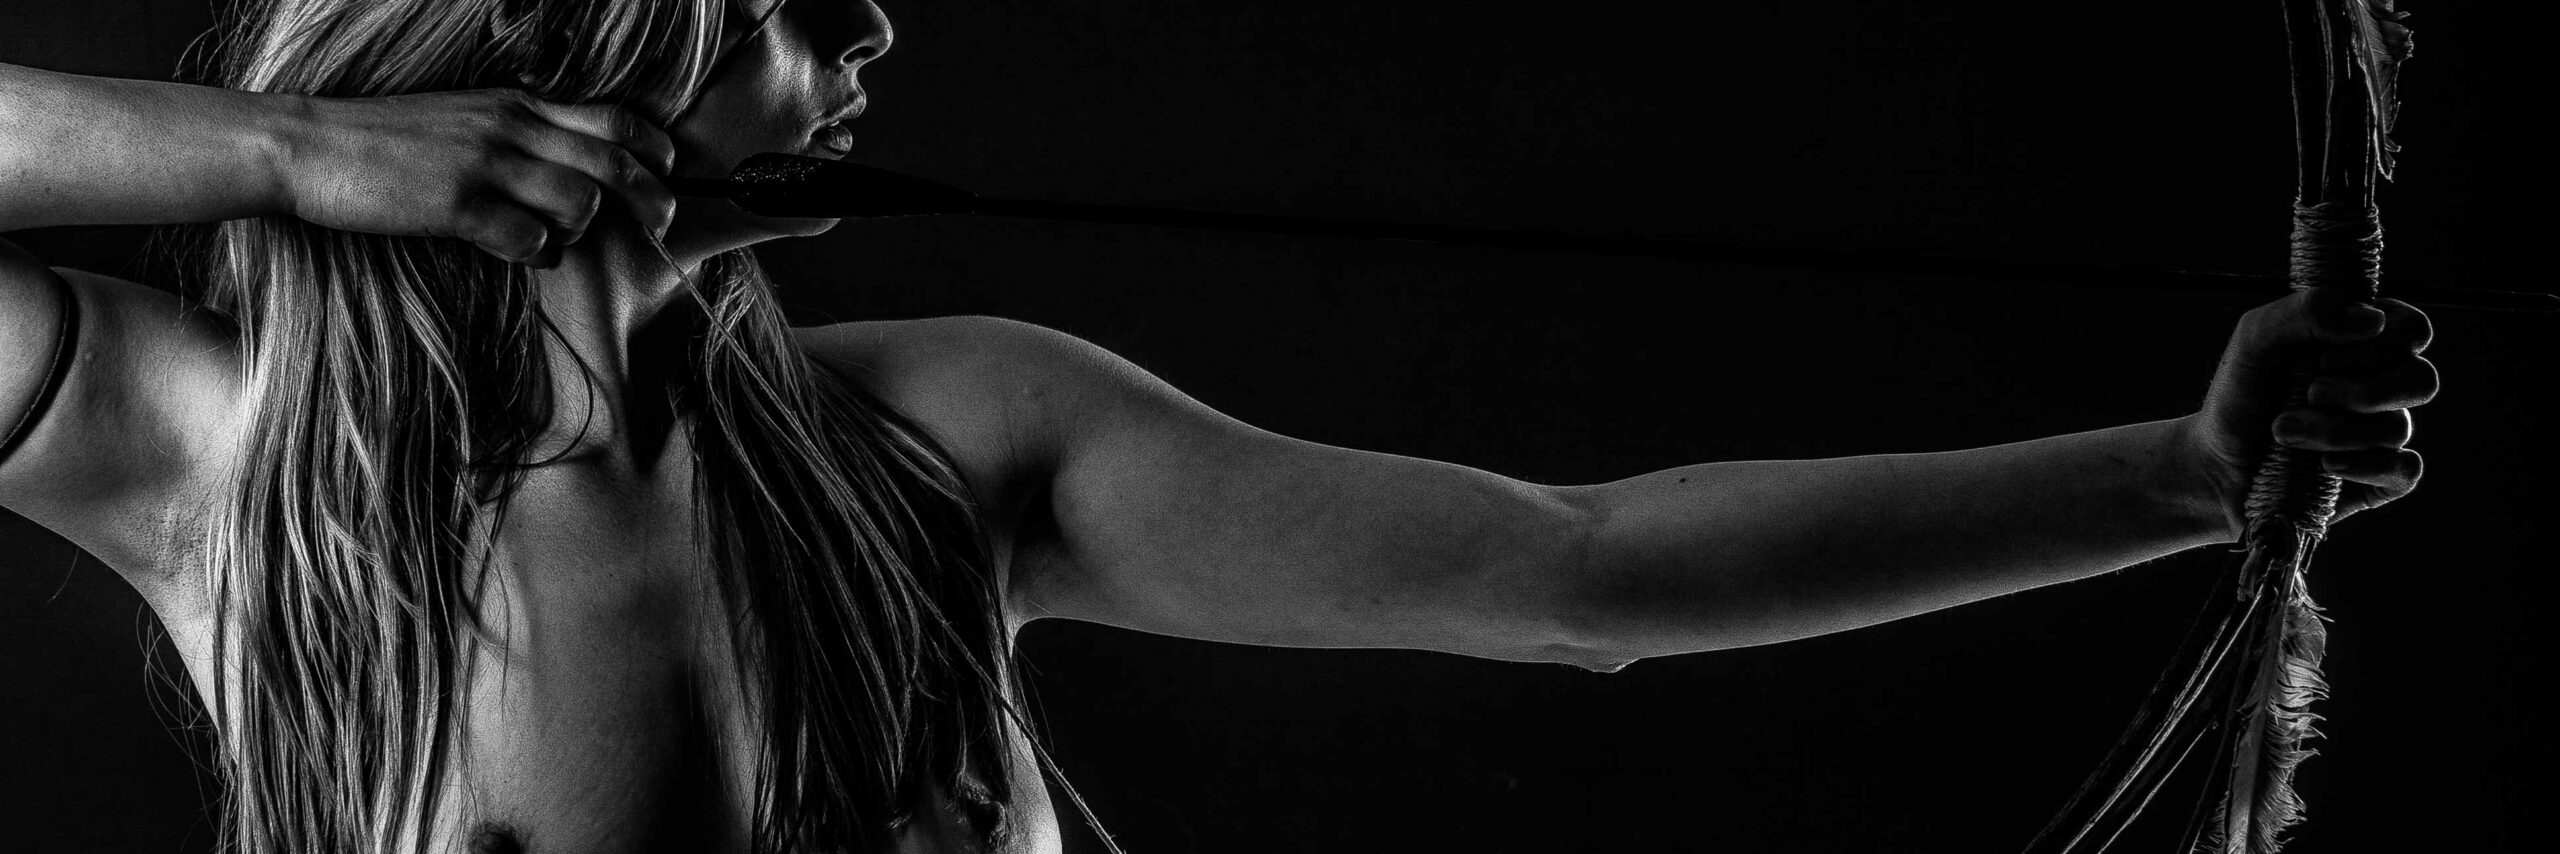
Model Portfolio Shoot
Niagara Falls, Buffalo, Toronto – model portfolios Some Boudoir Photography Here
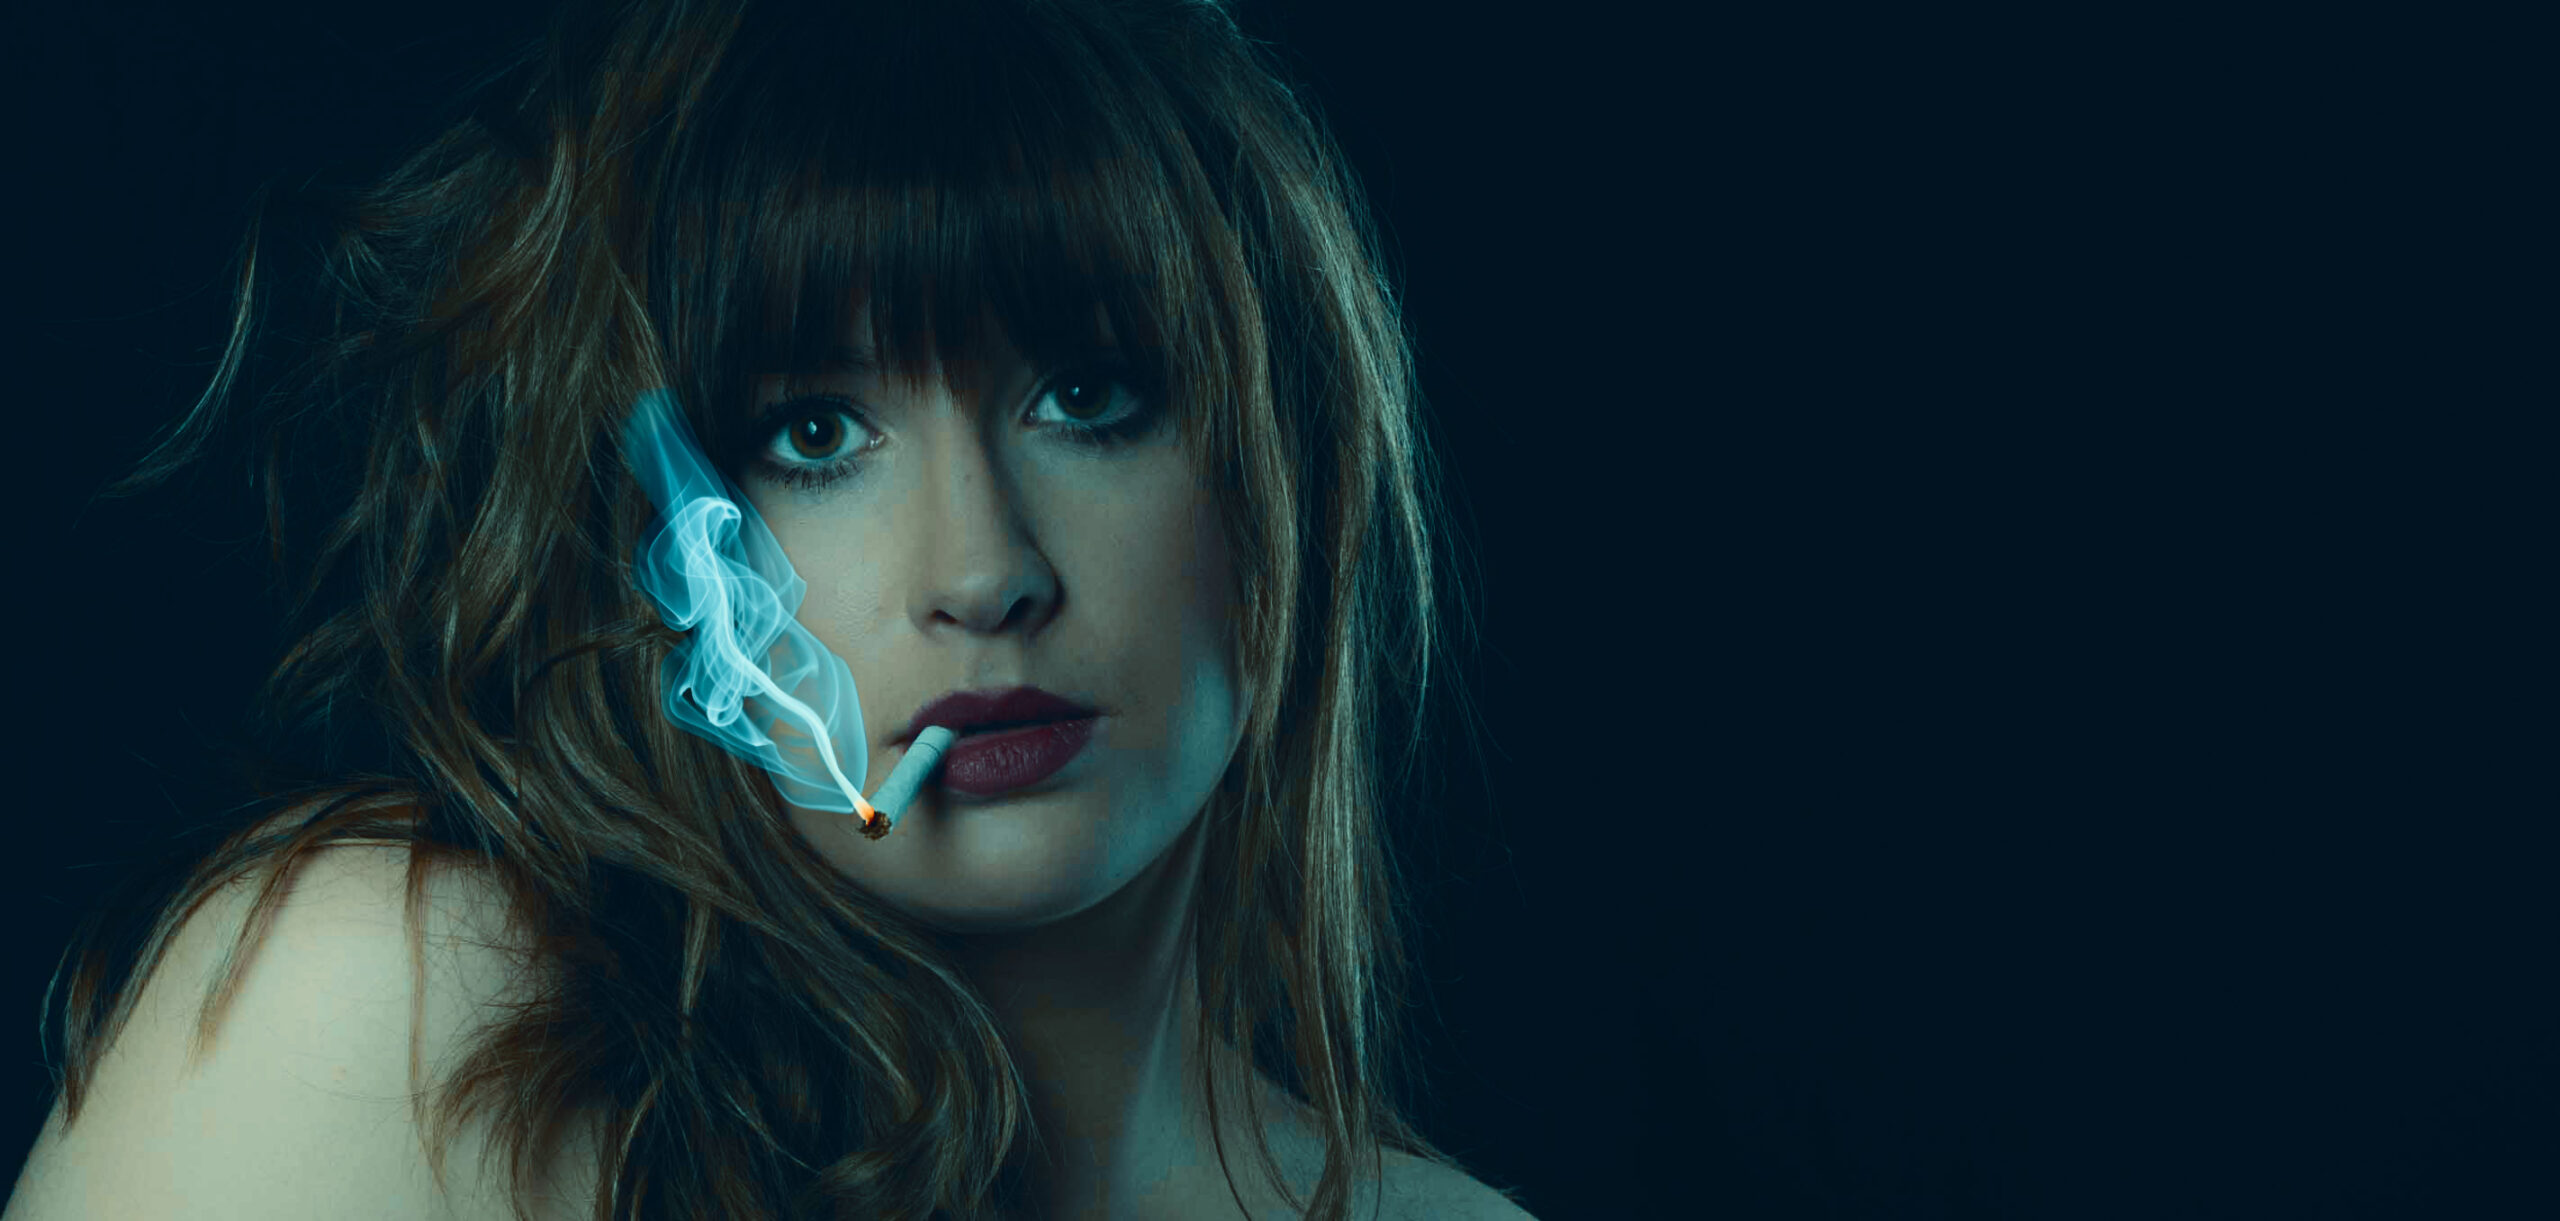
Boudoir with K.
Winter boudoir photo shoot in Calgary with Karissa. Daughter of some friends. I’d done her and sister’s Grad photos and she wanted try this out. […]
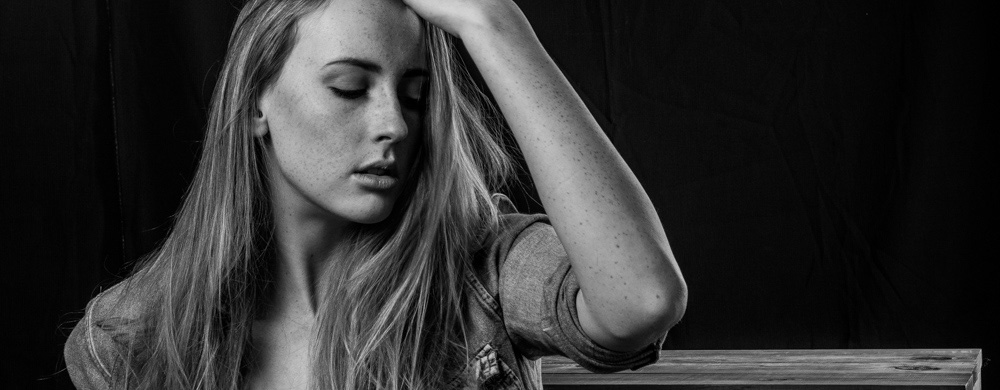
Portrait of Alana
From a recent shoot with Alana. I’m moving to Ontario in Sept ’17. Will be available to Toronto, Buffalo and surrounds for portraits. Edit: I’ve […]
Model Photoshoot at Rodeo Grounds
It was a pretty bright day and the photos in the sun were tough – no assistant to hold the diffuser. We could have gone […]
A Model’s Job vs a Photographer’s Job
I’ve read numerous articles and comments about who should bring what to a photoshoot. I read a comment recently where a model was asking about […]