
Niagara Falls ComicCon – Niagara Convention Centre I’ve been adding edited photos throughout last evening and today. If you see photos of yourself please contact […]
Blog

The Zen of Photography (My Way!)
Several different definitions for this. It is first of all a sect of Buddhism and a ‘way’ of Buddhism.
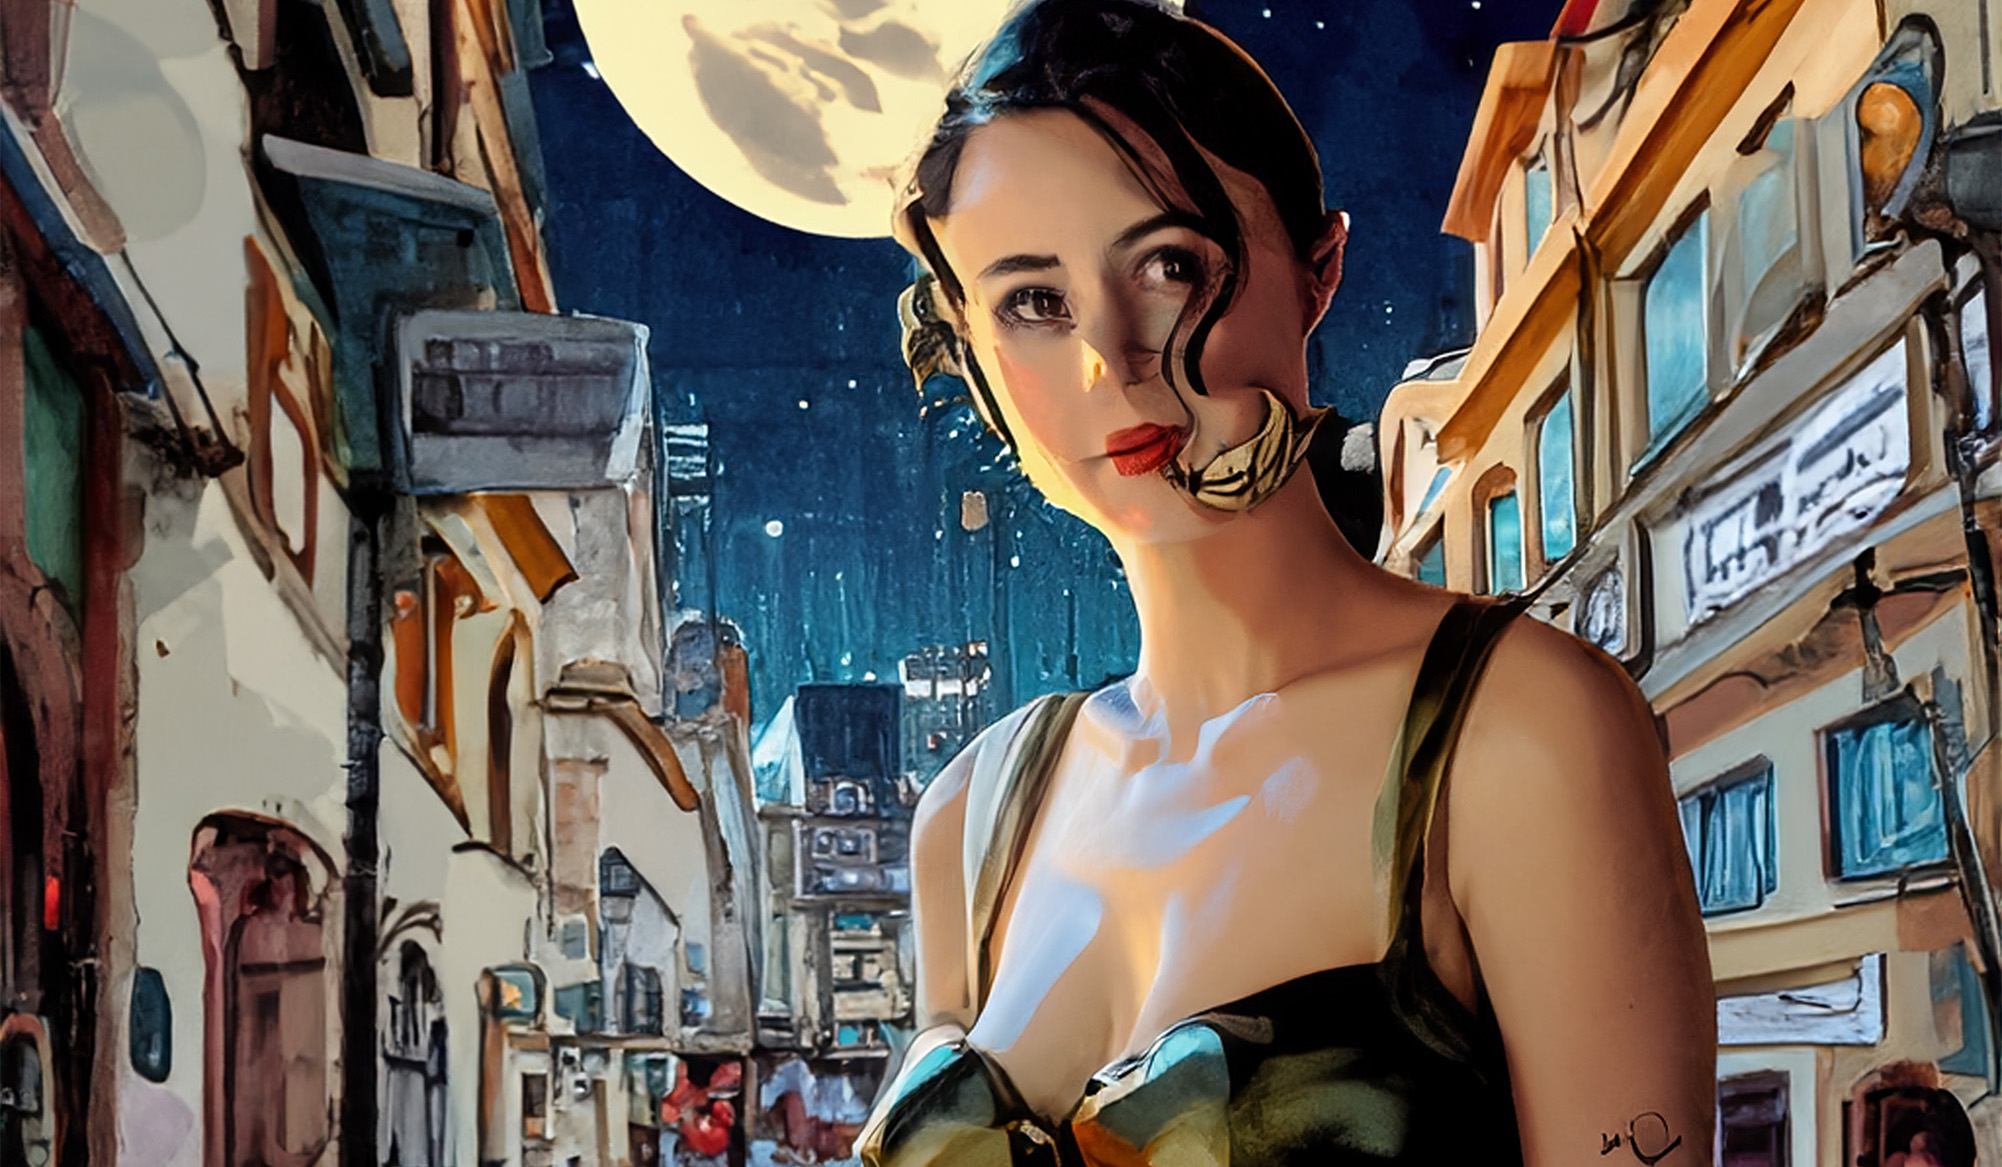
More Fun With PhotoShop AI
Layers and Layers In PhotoShop I try as much as possible to use only my own photos when I’m doing these images. Various models from […]
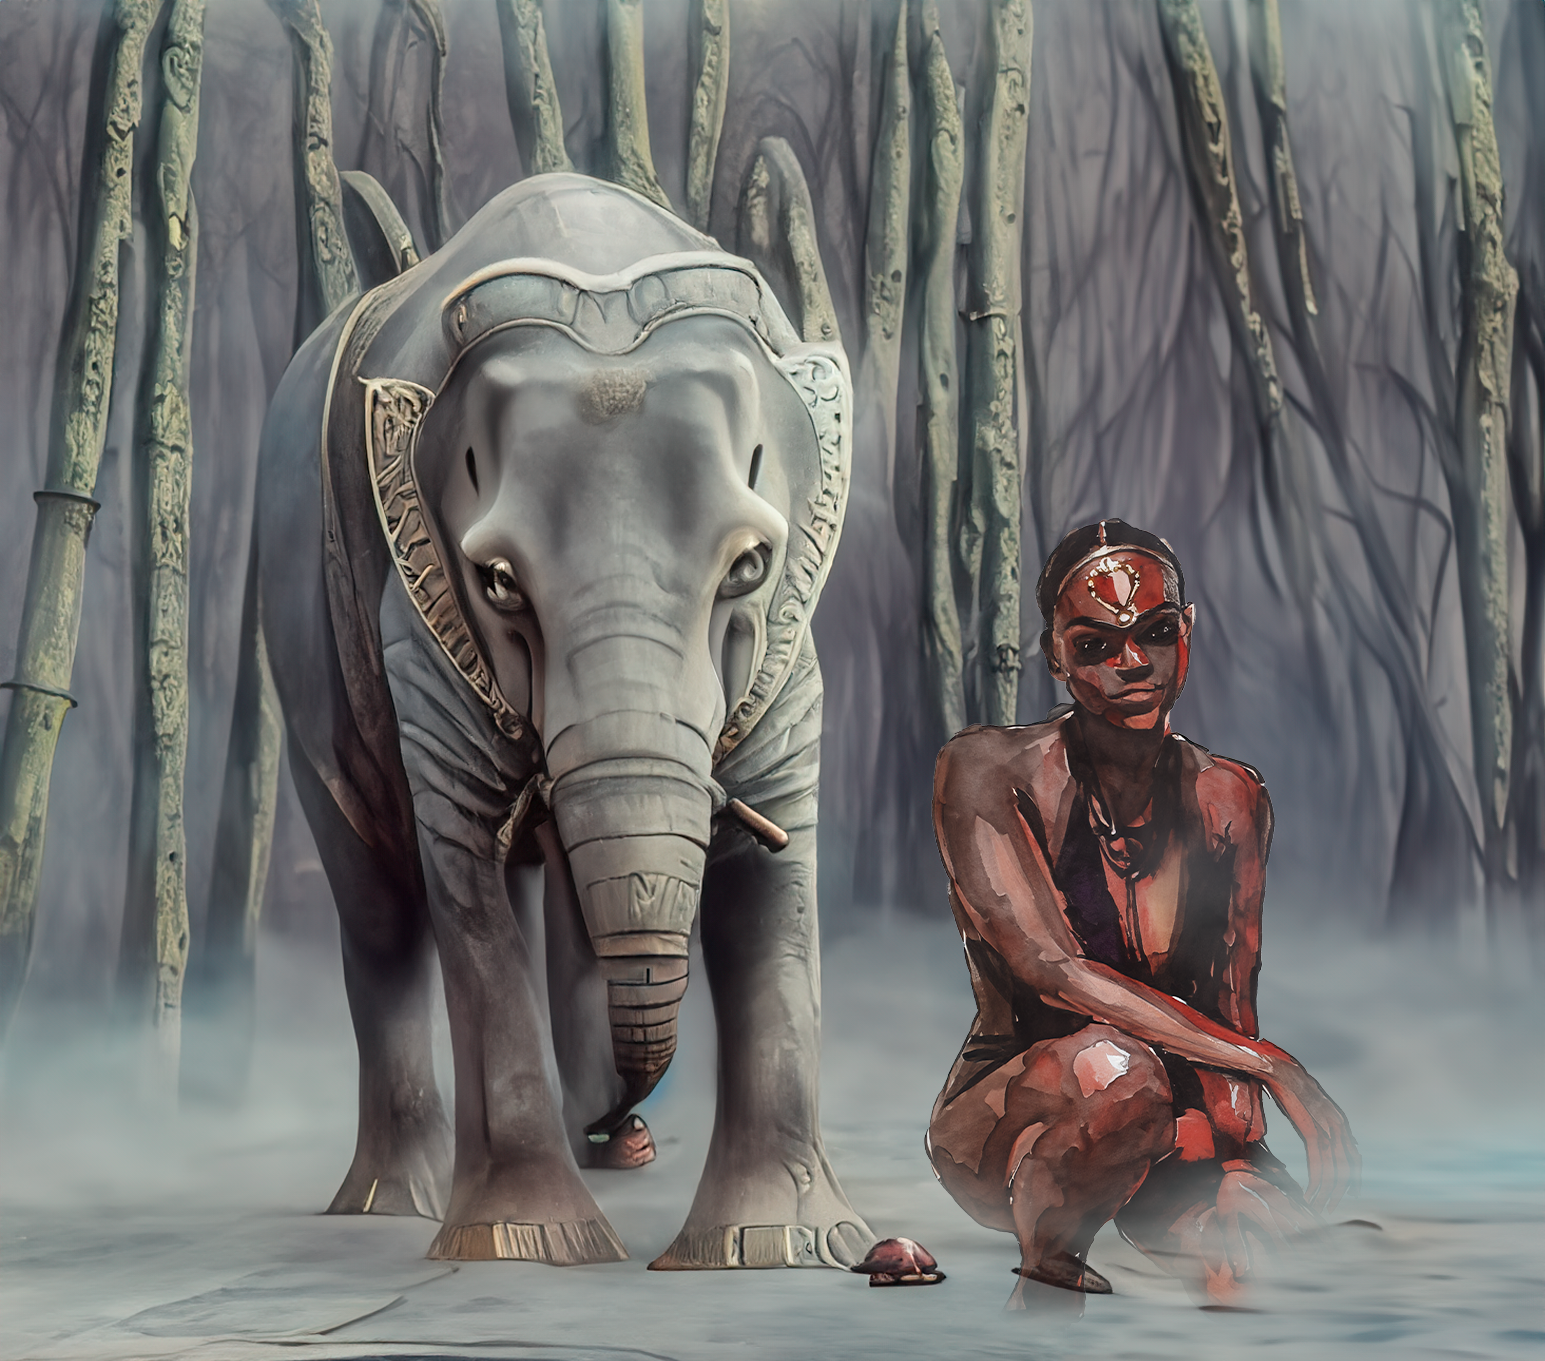
More Fun Combining Photos With PhotoShop AI
Life Should Be Fun – Make It So Not everything is perfect all the time. One needs to enjoy work or at least a good […]
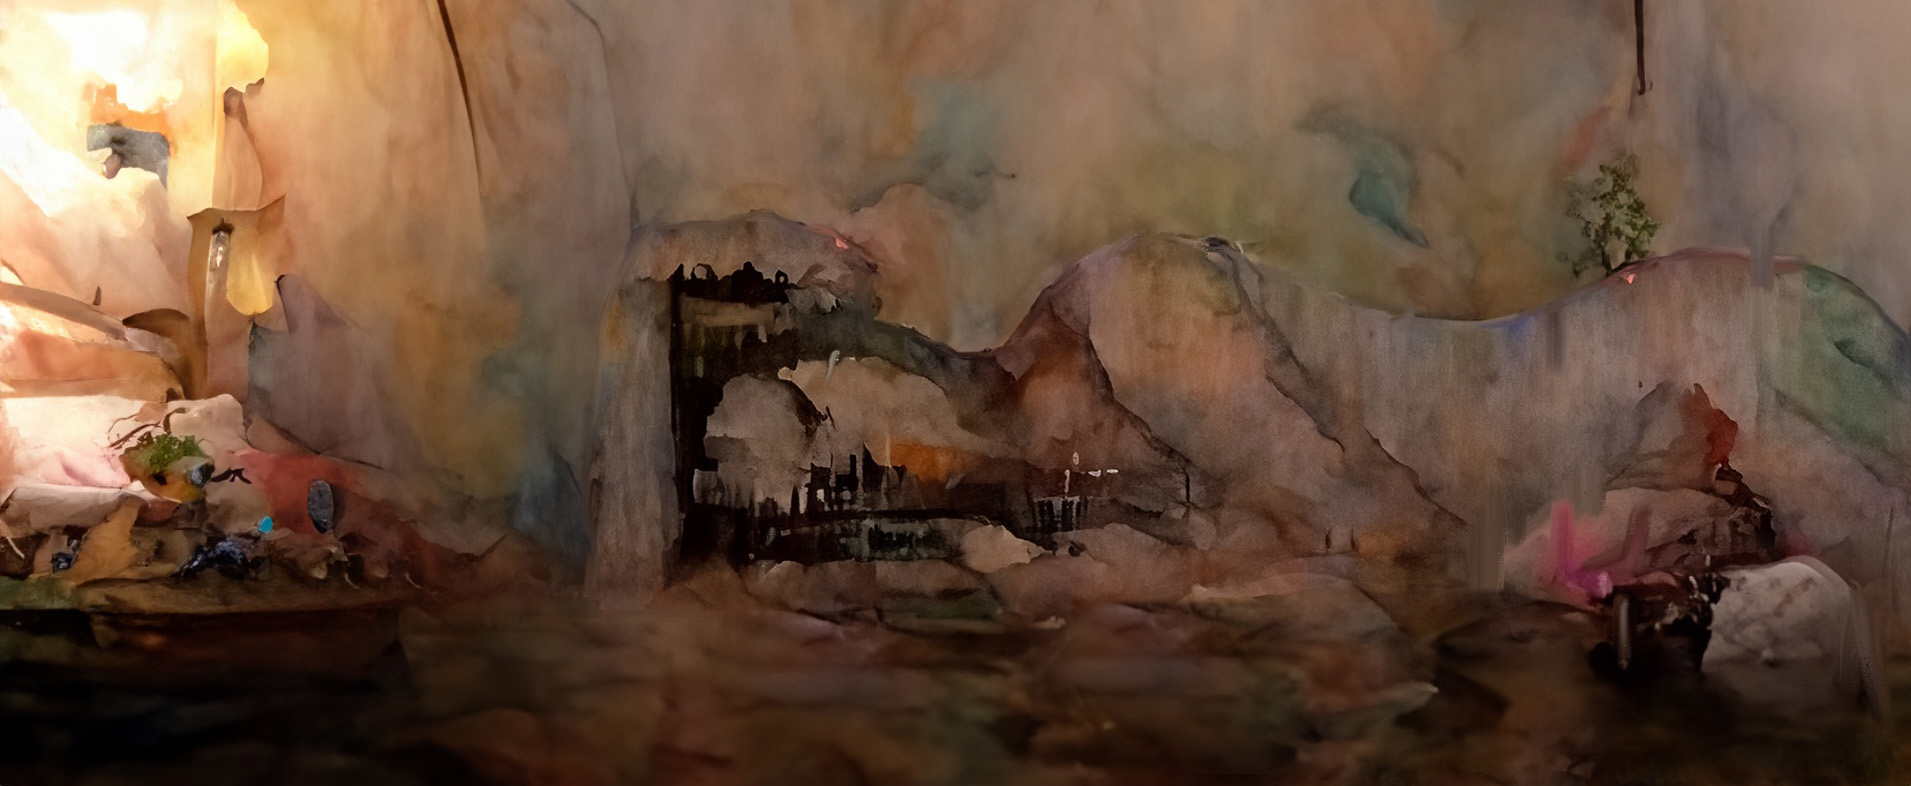
Creating Fine Art Nude Paintings With Photoshop
Not too long ago I had to upgrade my computer to allow me the advantages of Photoshop AI. For years I’ve been, by and large, […]
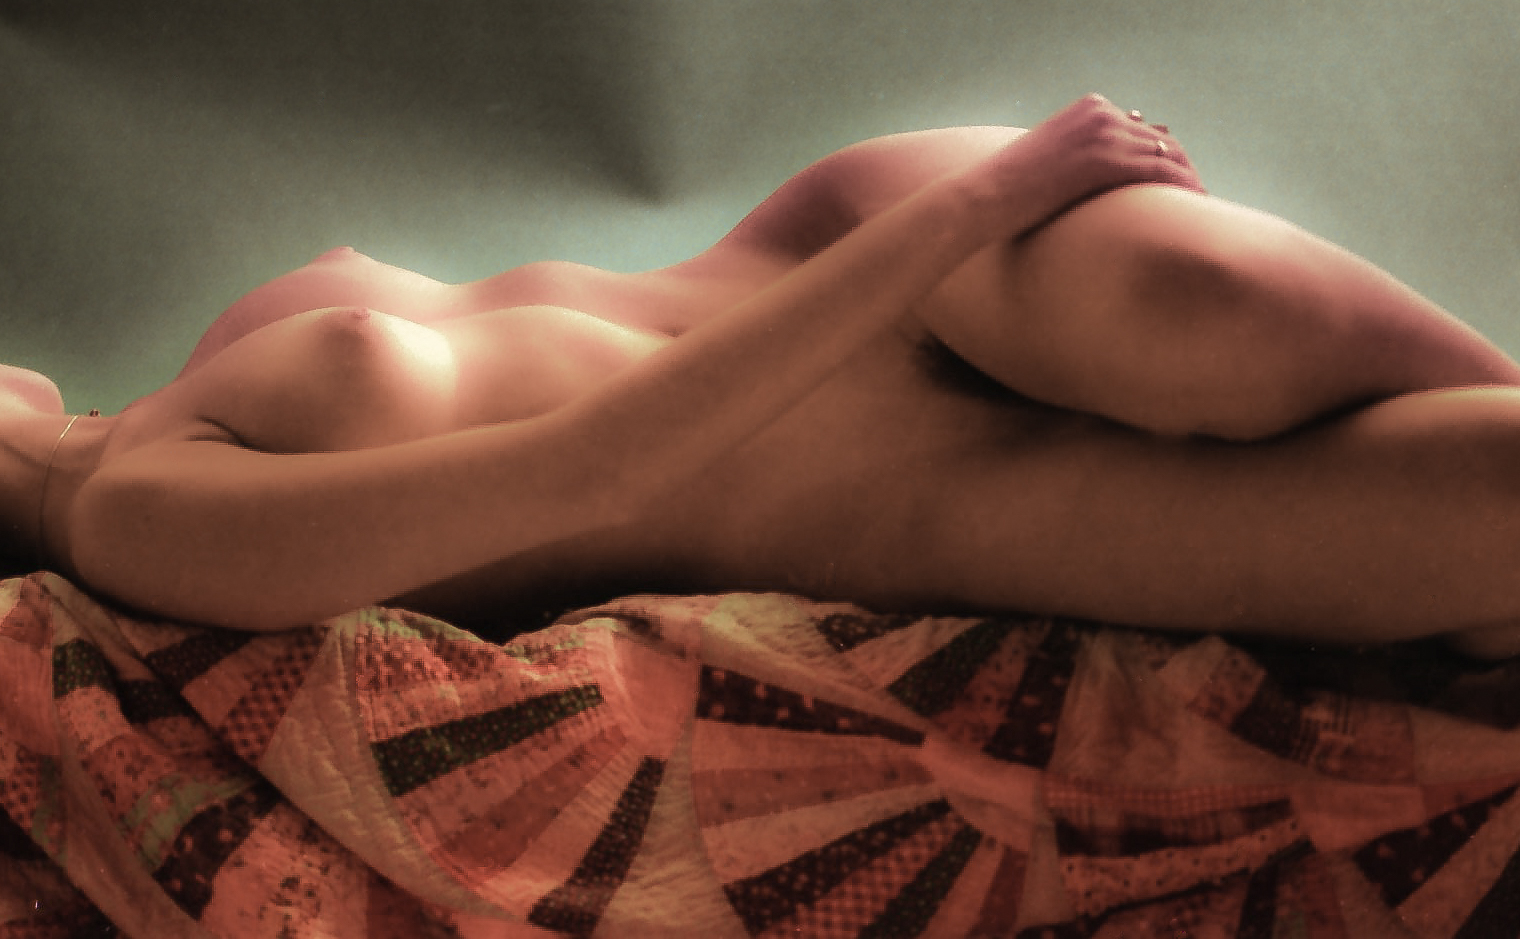
And More Fine Art Nudes
A few notes on these photos. The model and I likely did between 1000 and 1500 photos together. On film. Between approximately 2000 and 2003. […]