Photography Tips

Camera Photo Basics – First Step

Camera Photo Basics – First Step

Photographic Terminology (Nomenclature)

I get asked from time to time about understanding camera and photography nomenclature or terminology.  A lot of magazine or website articles assume that a person reading has a basic understanding of what’s what. 

Like with any subject, finding it too difficult to understand certain aspects, one can give up or consider themselves to ‘dumb’.  From that, a person may think that because they are unable to render the photography as they want, they are just not artistic or smart enough.

What I’m going to start with applies to a camera that allows one to adjust various settings.  The majority of these rules will not apply to your iPhone camera or some such.

I’ll try here to give you a few definitions at a time and show how these things interact, with some ideas and example on how to use, before going on to the next step.

Focus

First up, you have to focus on the point of interest in your picture. 

Camera Buttons: With the majority of cameras you will focus by pressing down the shutter button* half way, then, when focused the way you want, press the shutter* fully to trigger.

I find this a pain because if I lift my finger and put it back, it will refocus on a point I don't want.  There is something called ‘back-button’ focus on most cameras. 

It is usually right where your right hand thumb would be when your finger is on the shutter button.  Have a look in your manual or online for your camera model and see how you can adjust your settings to make this button do the focusing for you.  Once set it may take a little getting used to but it will generally make your life much easier.  Practice.

There will also be several settings as to how your camera will do the focusing when you are looking through the lens.  Pick one system and work that for a while, at least until you get used to how to deal with Aperture and Speed, etc.  One does not want too many unfamiliar moving parts when learning. 

I suggest using some sort of centre weighted focus point for starters.  Figure out how to set that up and just leave it.  While using the back focus button looking through the lens, you focus on the point you want and then take your thumb off the button and move your camera so you have the image framed the way you want.

For example.  A portrait.  You want to focus on the eyes but don’t want the face centred in the overall image.  Using back button focus, centre on the eyes and focus.  Release that button, move the camera a bit to one side or the other so the person’s face is maybe one third of the way from one side, then press the shutter* button. 

(*Shutter and shutter release button: When you press the shutter button is lifts a screen that now allows the light to strike the sensor or negative (in older cameras), creating the image.)  Look at it like this: Sun outside a window with the blind closed.  You open the blind and then close it really quickly.  Allows the light to come in the room for an instant.  The blind is the shutter in this case.  If you were looking at the room for that split second, you would record the image of the room.

Aperture,  Shutter Speed & ISO (International Organization for Standardization): Descriptions

These three things work together to allow the appropriate amount of light on to the sensor**.

Aperture: That’s how big the hole is that allows the light to hit the sensor.  This will usually be adjusted on the camera on a dial near the shutter button.  The bigger the hole the more light that enters.  There are a series of numbers, usually about f22 to f1.4.  There are lots in between and not all camera lenses have same range of openings.  More on that part a bit later.  It can be initially confusing because f22 is the smallest aperture (opening)!  And f1.8 (or again on your camera lens it might be f3.5 or something slightly different) is the largest or most wide open.  This is because they are calculated as fractions.  The really should read like this: f 1/22, f 1/16, f 1/8, etc.  Then you would more easily see that f22 is smaller in size that f8. 

These images aren't exact proportions but just to give you a visual idea of how these numbers work with the sizes:

f22: ⭕        f16          f8          f5.6⭕     f1.2


So, on a really bright sunny day, you might want use the f22 setting as it is a smaller size and allows less light in.  In the evening you might want to use a more open aperture like f4.

Shutter Speed
This is fairly straight forward.  The faster the shutter the less light.  If you want to freeze motion, you would need a fast shutter speed, likely over 1/1000 second.  If you want to show motion use a slow shutter speed. For example, you may have seen photos of a waterfall blurred from the moving water.  The speed setting on the shutter for this might have been as long as one or two seconds to get that blur.  With slower shutter speeds one might want to use a tripod to hold the camera perfectly steady.  It is almost impossible to hold your camera steady enough when you are shooting at one or two seconds.  You will almost always get a blur where you don’t want it. 

Most cameras these days will go from a setting or several seconds (slow) to as high as 1/8000th of a second. 

ISO: (International Organization for Standardization)  This is a sensitivity setting for the sensor** on your camera. 

Low sensitivity needs more light to register.

High sensitivity needs less light to register.

Most cameras these days have the lowest sensitivity at 100.  Some go up to +50,000.  These settings were originally developed for film.  At a low sensitivity you would have lots of little dots of silver on a negative.  These particles would react to the light. If there was plenty of light you could use a film like this as each dot was very small but there would be enough light register on that small dot or particle.  A higher sensitivity film would have fewer and much larger dots.  The larger dot would be needed to catch or register the light. 

The first image here would be comparable to a low ISO (small dots) needing more light for each dot but giving a sharper image.  The second image with the larger dots would need less light as they are bigger and can catch more of the light quickly.


The problem with this would be that the resulting image would be very grainy.  You would be able to see the individual dots.  Sometimes this can be aesthetically pleasing.  But other times you might want the sharpness.  This all works the same way with the sensor on your digital camera as it did earlier with film.  The higher the sensitivity the grainier the image.  The lower the sensitivity the sharper the image. 

So, how do these three things work together to give you the image you want?

So each of these three settings can allow more or less light into the camera and onto the sensor to make the image.

So that we don’t have too many moving parts when trying to figure this out, let’s start with taking a photo outside on a reasonably bright day.    

For this set your ISO (sensitivity) at 100. 

Now, how do you decide what to set the Aperture and Speed?

Speed is fairly simple.  A fast shutter speed will slow or stop motion if there is any.  So, if you are taking a photo of, say, a landscape this setting should not matter as much. 

But your Aperture setting might matter and here is why…

There is a thing called Depth of Field.  Depth of Field means what is in focus in the image, between camera and infinity.  Referred to as a narrow or wide depth of field.

The more open and wider your Aperture, the narrower your depth of field. 

The smaller your Aperture, the wider the Depth of Field

For a narrow Depth of Field, you might use f1.4, f1.8, or even f3.5.  Remember these are bigger numbers as they are actually fractions 1/1.4 or 1/3.5 (fractions).

You might want to use this setting if you were taking a photo of a person outside and wanted the background blurred.  You would focus on the individual and have your Aperture set at f3.5. Gives you a narrow Depth of Field.  So the person would be in focus but everything in front of and behind him or her would be somewhat out of focus.  A narrow Depth of Field. 

If you wanted everything in focus, you might use a setting of f16 or f22.  That would make everything from a little way in front of the camera to infinity in sharp focus.

There is a setting on most cameras whereby you can use what is called Aperture Priority.  So, this allows you to set the Aperture the way you want and the Speed would automatically adjust to allow the appropriate amount of light to get a decently exposed image. 

You see that if you are shooting with a wide open Aperture, say f1.8, you are letting in a lot of light to your sensor.  To make up for this you would have to make the speed faster to allow less light. 

The reverse of this would be shooting with a small Aperture, say f16, allowing much less light to get everything really sharp.  You would then have to shoot at a slower speed allowing more light that way to compensate. 

So, you jockey these two things back and forth to get the type of image you want.  Artistically.

One can use automatic settings on the camera, or ‘Aperture priority’ or ‘Speed priority’ but I suggest going full manual.  This will force you to learn how these things work together. You will likely make mistakes.  Part of learning. 

So, alternately, if you are concerned with slowing or stopping motion, or if you want to actually show the motion of something, like a mountain stream, then set the speed that you want and adjust the Aperture to allow the right amount of light. 

There is another important term here:  That term is the word: Stop or F-Stop. 

‘Stop’ or F-Stop is the opening or closing of the Aperture one increment.  Or stepping the Speed up or down one increment. 

For example, if you want ‘X’ amount of light and your Aperture is f8 and your Speed is 1/250 of a second.  If you closed down your Aperture one ‘stop’ to f11 (less light), you would then need to reduce your Speed (increase light) one ‘stop’ to maintain the same exposure.

F-stops: f1.4, f2.8, f4, f5.6, f8, f16, f22

Shutter speeds: 1/1000second, 1/500s, 1/250s, 1/125s, 1/60s, 1/30s, 1/15s, 1/8s, 1/4s

So, f1.4 Aperture pair with 1/1000 second would allow the same amount of light as:
f2.8 with 1/500 second.  Here are two photos. 

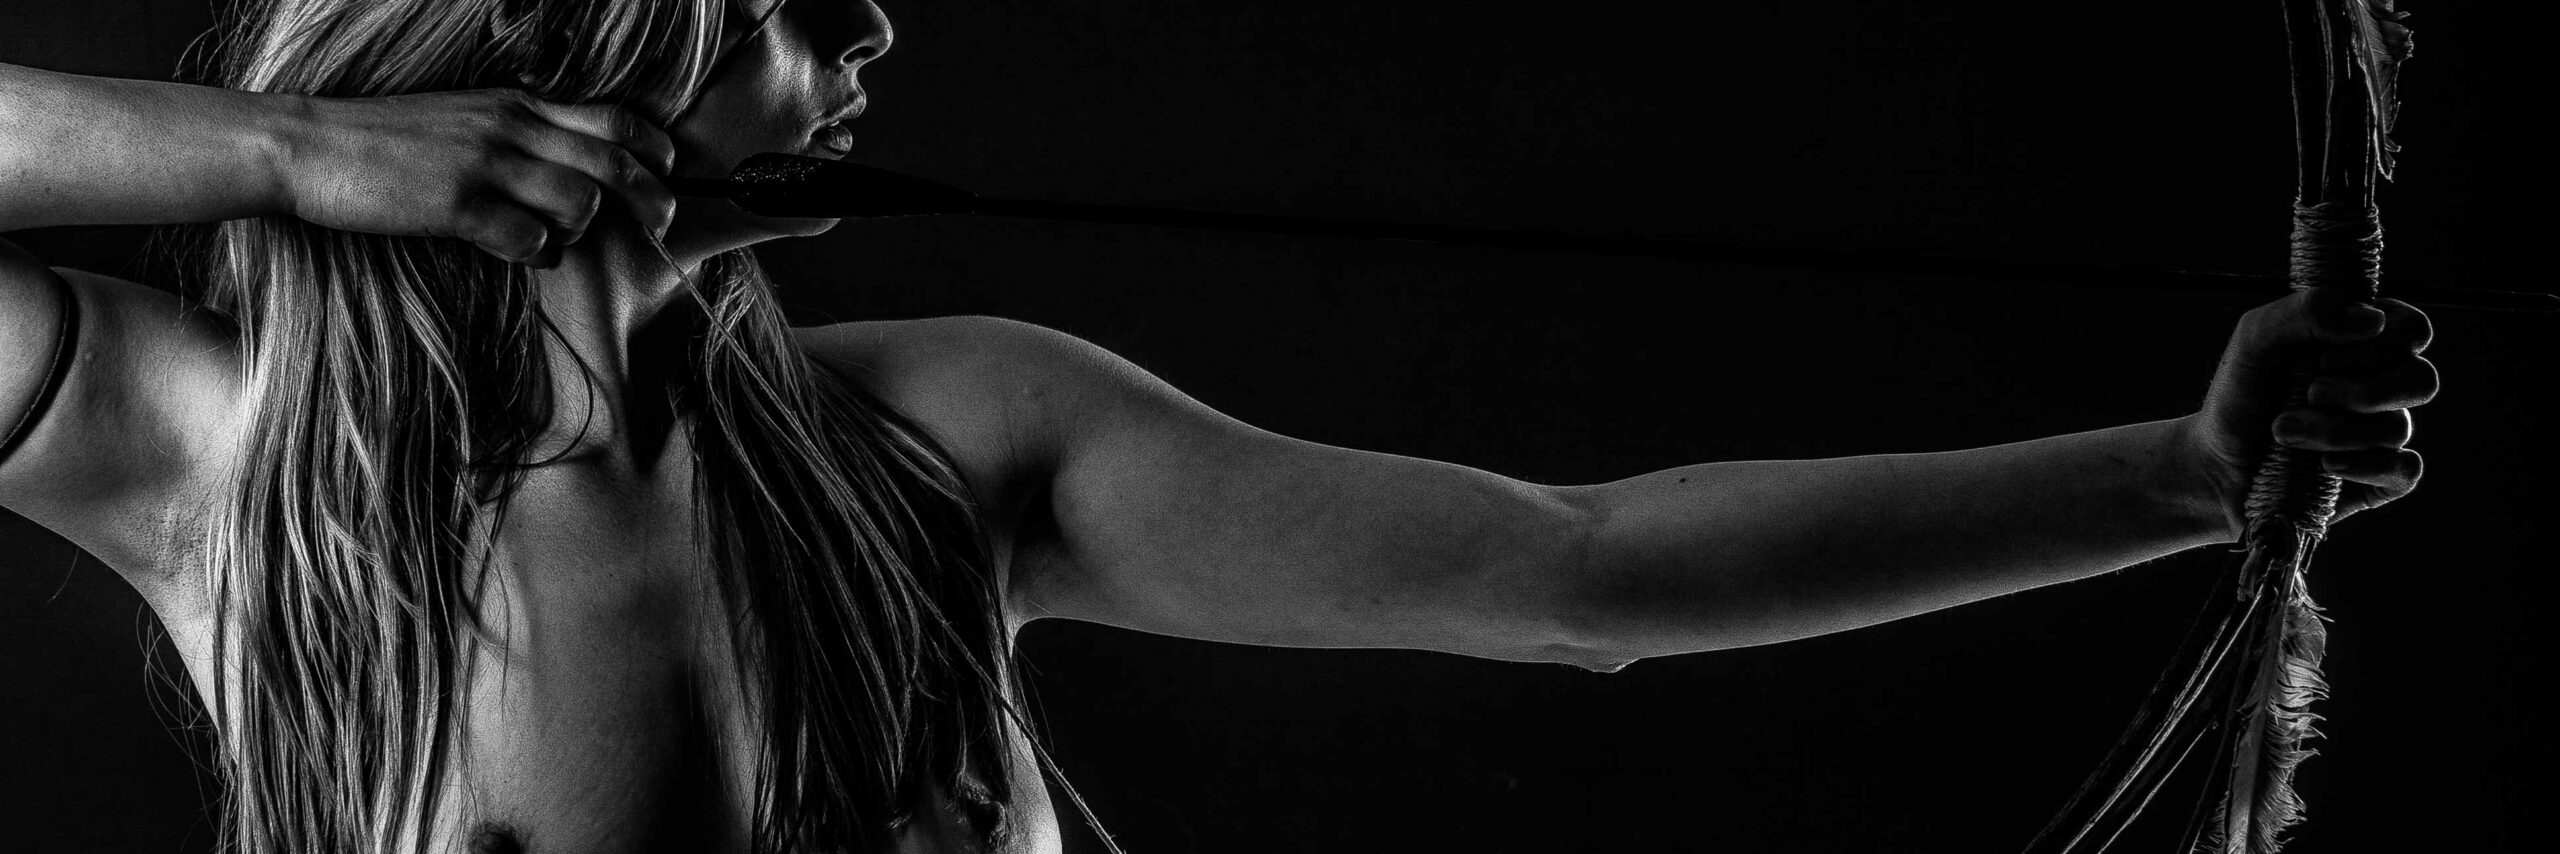
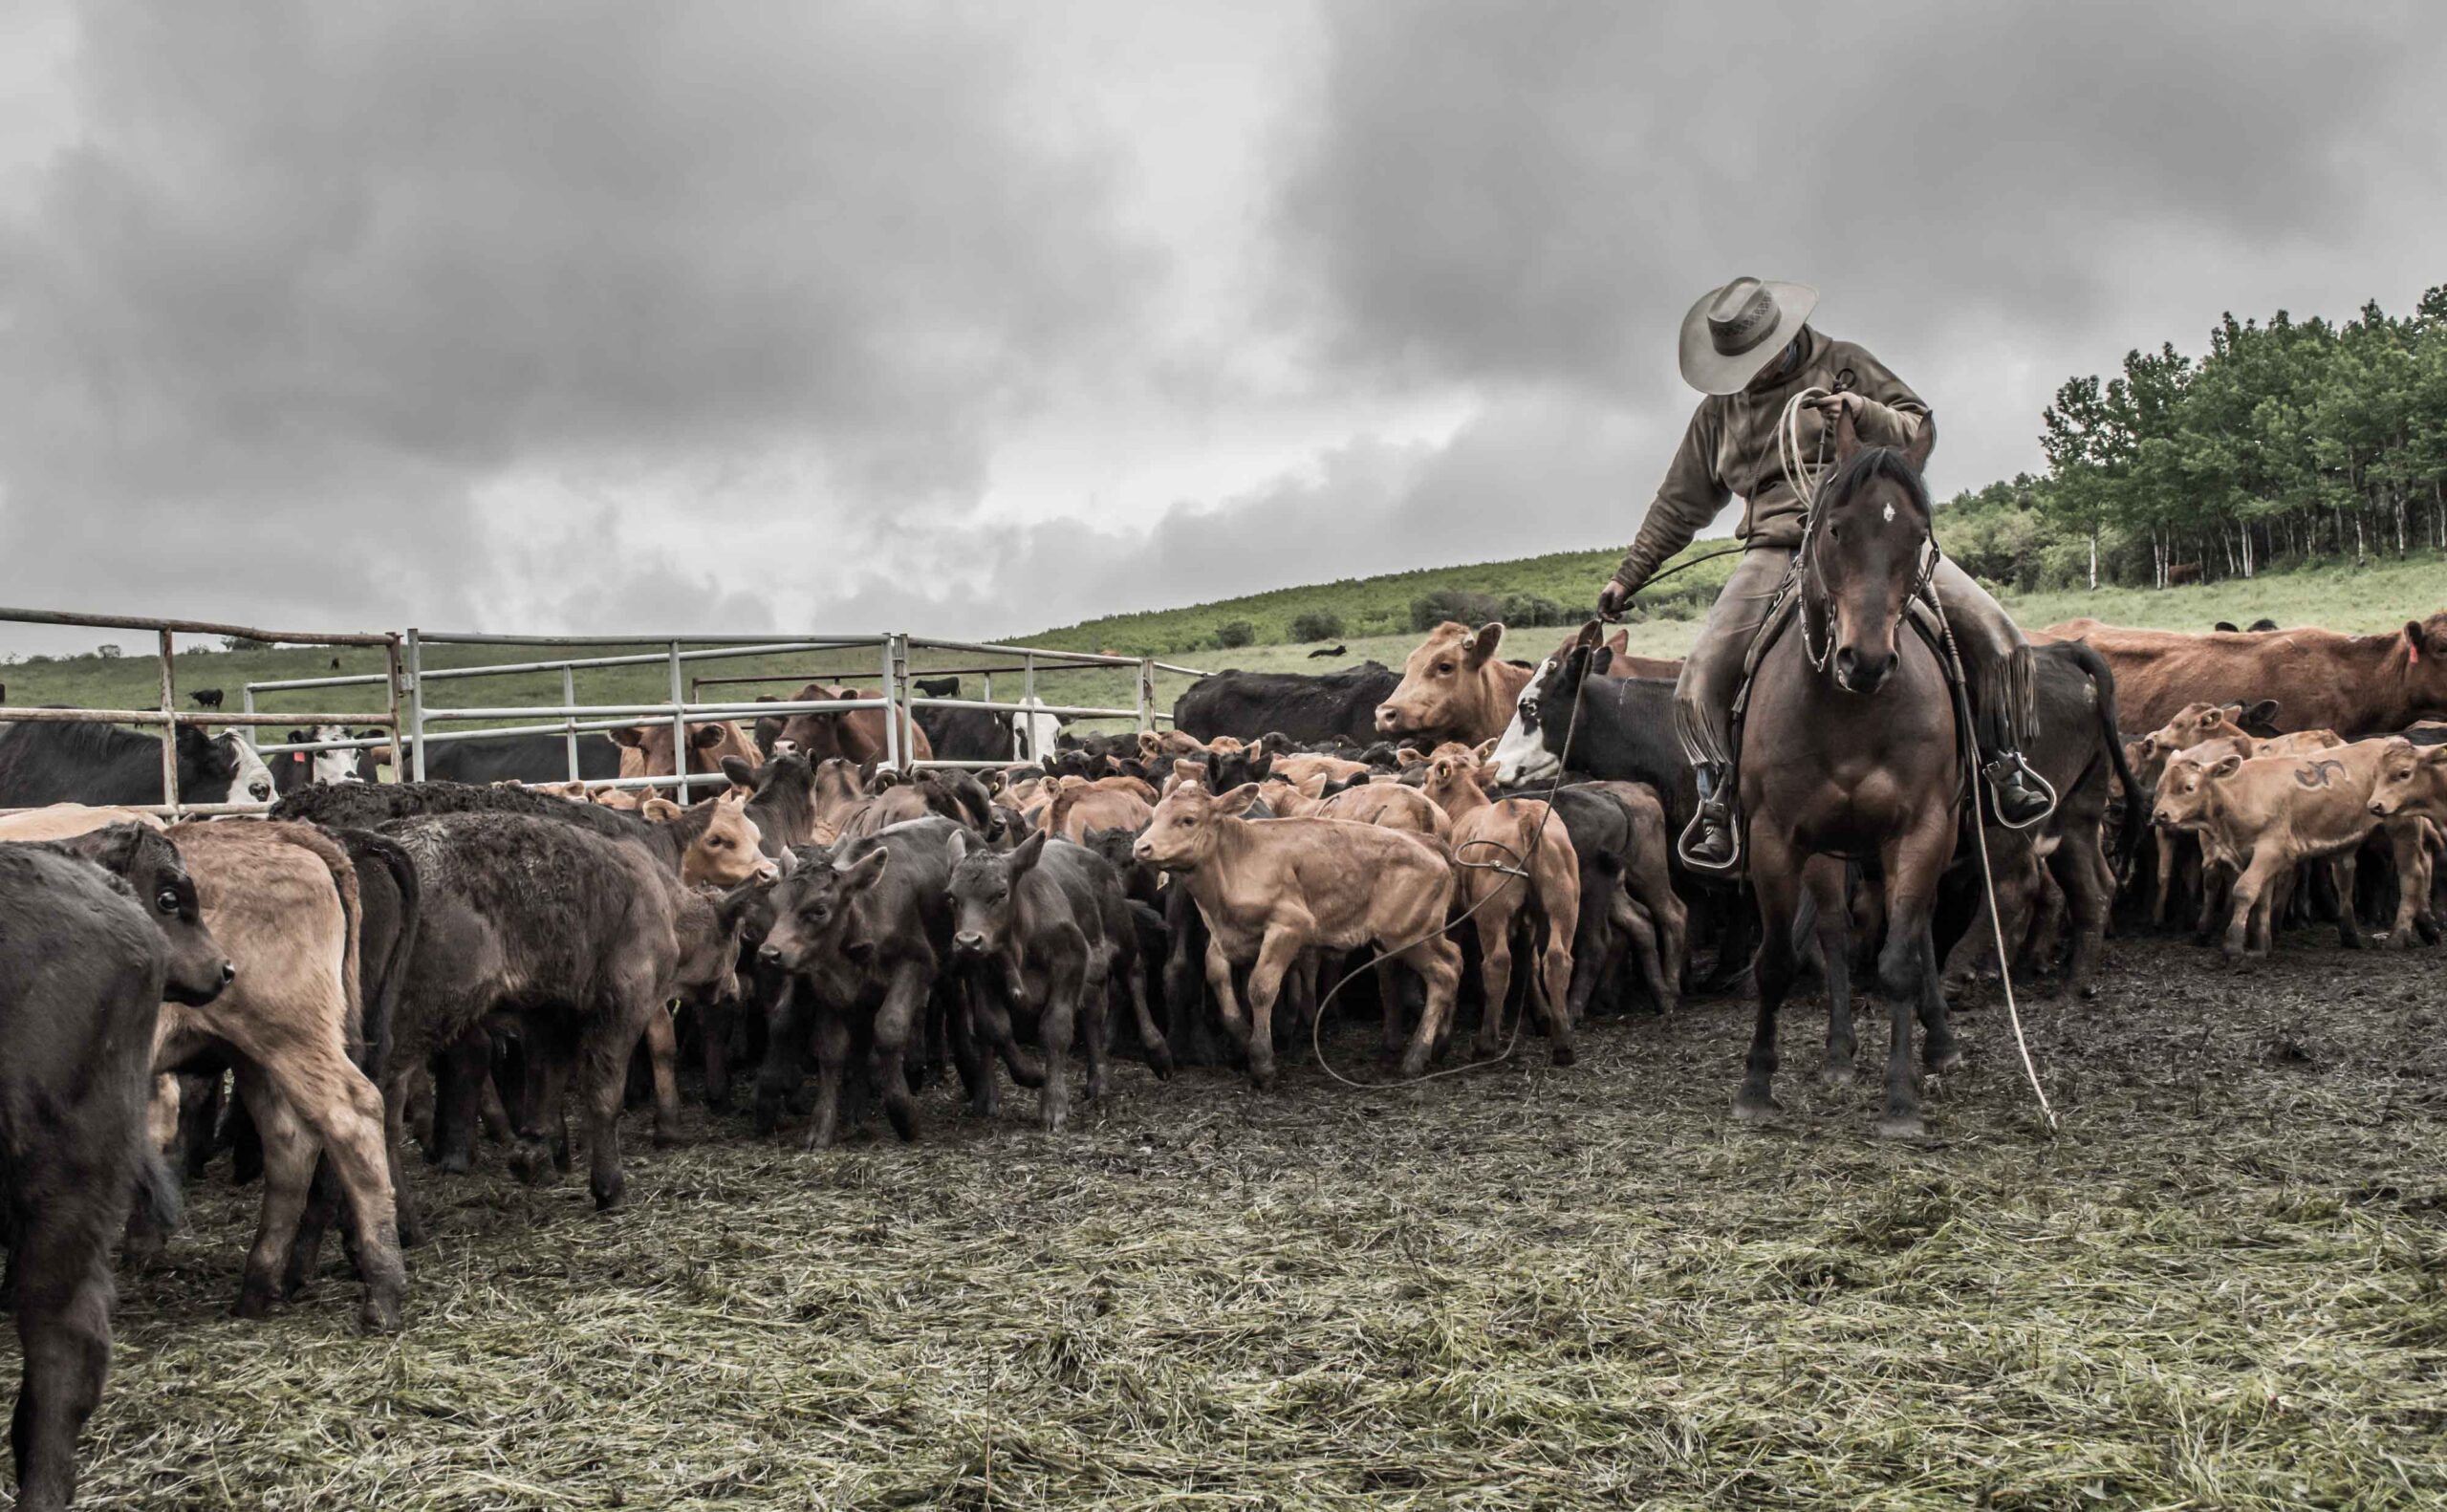
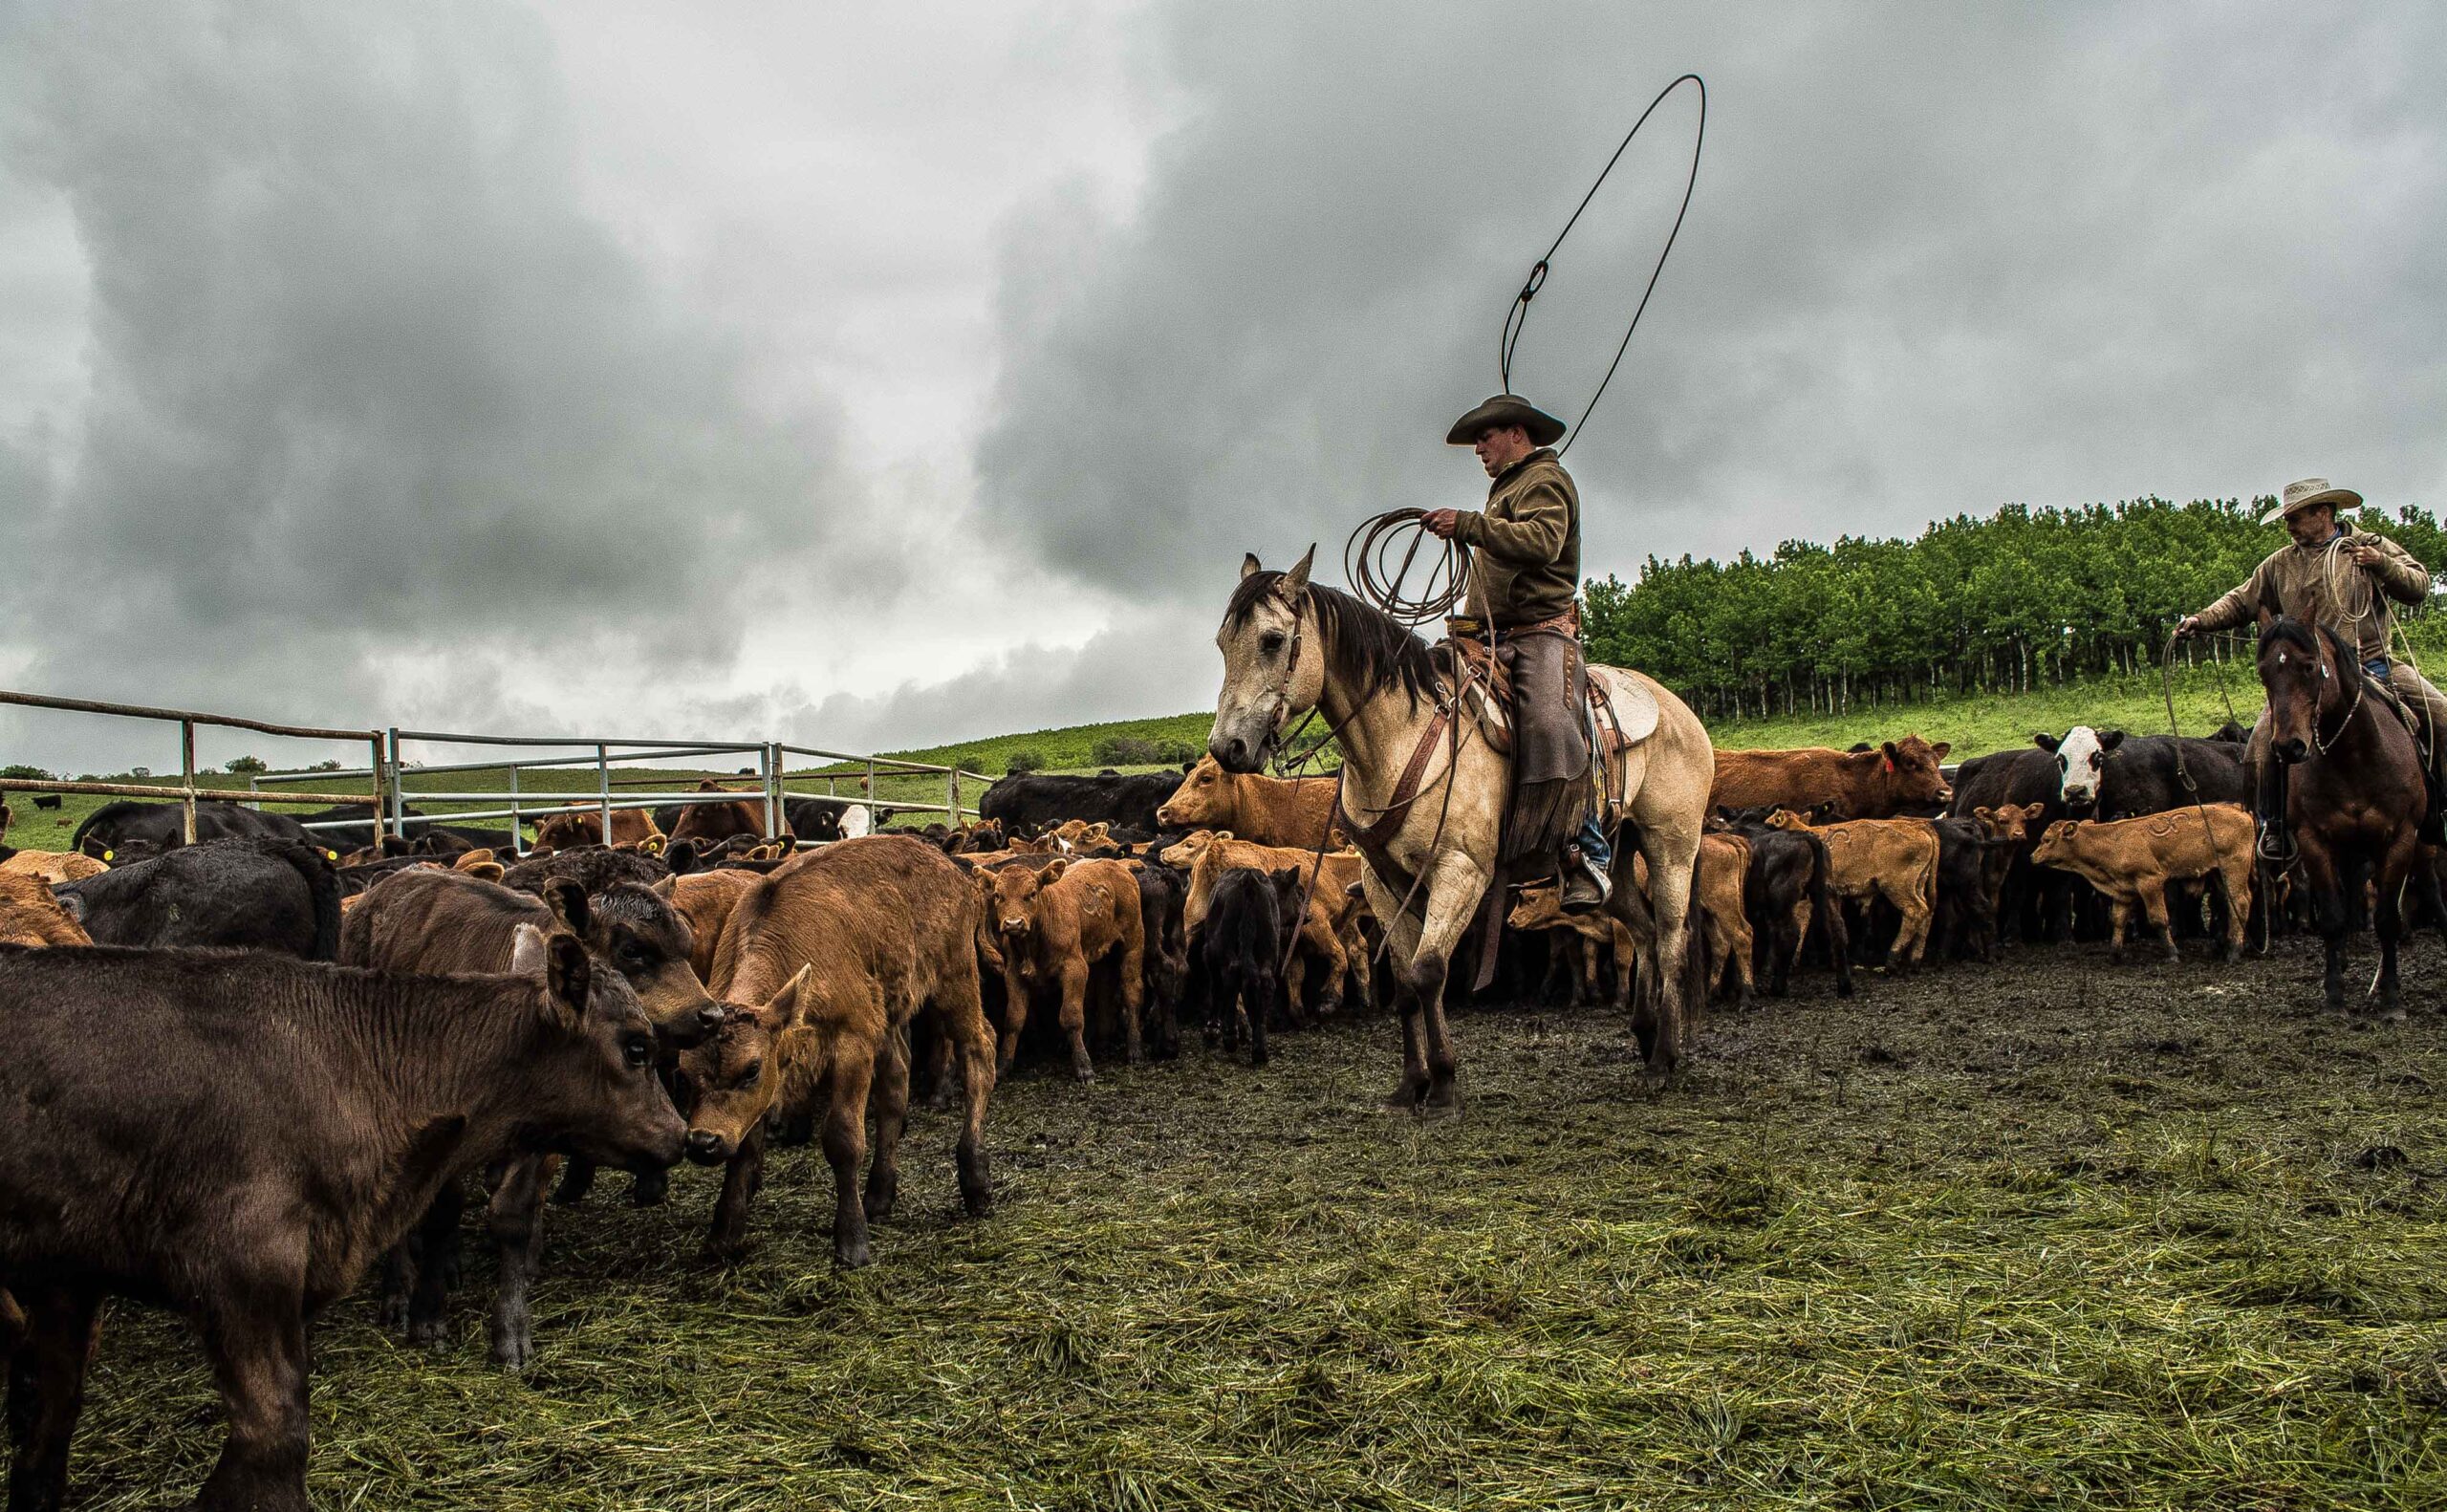
The portrait on the left has a shallower depth of field.  You can see that the background is somewhat blurred.  The landscape photo on the right is in focus from close to the camera through the water to the sky.

**Sensor: that’s the little rectangular or square bit where you camera records the image.

Practice

Before you do anything else, practice this drill:[read more]  

Outside. Shoot the same photo from the same distance with each of these settings.
Ideally, pick something 7-10 feet away with a background much farther.   Focus on the near item.

Start with ISO set at 100.

Set your Aperture wide open.  This would be the the smallest number (largest fraction).  Could be f3.5, f1.8 or something like that.

Adjust your Speed so that you get a natural looking well lit image: maybe 1/1000 or 1/500 second.

Take a photo.

Next, close down your Aperture one stop. So that would be, for example, from f2.8 to f4.  So you are making one stop less light.  To compensate, move your shutter speed one stop.  Say for example you started at 1/500s, then you would adjust it to 1/250s.

Take another photo.

Go through this until you have the smallest Aperture for your camera compensating each step of the way making the Shutter Speed slower each time by one stop. 

Once done, load your photos onto your computer so you can take a proper look.  Compare them paying particular attention to first and last.  There you should see a the most dramatic difference in Depth of Field.[/read]

Headshots and Portraits starting at $150: Contact

Some information on lighting techniques


#aperture #shutterspeed #iso #photographybasics

Posted by Martin in Blog, Photography Tips, 0 comments
Photographing Men

Photographing Men

I find there is quite a difference photographing men to photographing portraits of women.  The way I shoot and approach my subjects anyway.  Perhaps I’ve changed over the years and become a bit seasoned with age.  Don’t know for sure. 

Posing, editing, lighting, all these I do a little differently.  It has been said that one should first learn the rules extremely well, and only then one can or should be able, if one wants, to break them.[read more]

Shoot one style to the point there is no ‘thinking’ involved.  Then test the boundaries. 

It all goes back to what the photo, or you and the model, are communicating.  For example, having the shoulders of the model square on to the camera is normally a pose for a man or boy.  Women often, one might pose with one shoulder back and the other forward.  One pose is more aggressive than the other.  One might be interpreted to invite you in whereas the other might be telling you to piss off. 

One of the aspects of photographing men I’ve come to like is being able to play more with textures and contrasts in the editing.  Generally, it is frowned upon to show a woman’s ‘flaws’.  Again, it’s all about how and what you are trying to communicate.  A bit of what is accepted and what people want to view. 

That said, check out these few photos of Jordan.  He should likely be modelling but that’s up to him. [/read]

Female Artistic Nudes here

#headshot #portrait #blackandwhite #portraiture #serious

Posted by Martin in Blog, Photography Tips, Portraits, 0 comments
The Art of Photography

The Art of Photography

How to “Art” Your Photos

I was asked recently the most important things I consider when taking photographs of models.  Kind of like ‘What makes a good photograph?”  Ask a hundred photographers and you will get some answers that are basically similar and many that are different as you will get what has worked for that particular photographer.  But there are basics.  

There are things that you need to know about your camera and how it works; the relationship between ISO, shutter speed and aperture and what happens to a photo when you change these things in ration to each other.  (All this was discussed in my last blog article.) You need to know how different lenses ‘see’.  

That is only a part of the equation. [read more]

There are some basic art techniques that work whether you are shooting landscape or a fashion model.  With a model where you are shooting to show off the outfit, there are sometimes very exact rules that apply for posing. These things flatter the clothes as much as the model.  The intent here is for both to look fantastic.  Small details can make an otherwise mediocre photo look fantastic!  

A lot of photographers concern themselves with the technology of the camera and its bells and whistles.  These are key tools of a photographer of course and his or her knowledge of various settings and how they will affect the final resulting photo, are very important but…

Don’t forget the Art of Photography!

I see someone learning about the ‘Rule of Thirds’ thinking they know all there is to know about art and figure that the rest of art rules belong with the Renaissance or the Old Dutch Masters.  (Some of you reading this already know that ‘The Rule of Thirds’ is inaccurate… I know - more on that later.)

The purpose of this article is not so much to iterate the specific techniques that you should know but really to inspire you to search out these basic art techniques and apply them to your trade.  

Don’t call it cheating. There is technology for everything, including Art.  I’m sure you wouldn’t want the engineer/bridge builder to ‘wing it’.  An engineer has a set of rules that he or she follows so that the bridge won’t collapse with the first vehicle that crosses.  An airline pilot has a set of rules that allow him to fly and plane… or land it in the Hudson River with everyone still alive!  

So, too, do visual artists have technologies or rules they can follow to help make them more competent.  Many of the techniques of the Dutch Masters and the Renaissance* painters can be easily applied to photography.   

There is a key here. If you know the rules, then you know when and when not to break them.  

You will never have good judgement on what works and what doesn’t if you don’t first understand what your tools and techniques are.  And to do that you have know the rules of whatever game it is that you are playing, in this case art.  Learn ‘em, drill ‘em.  

Art Techniques

I won't go in to detail on all of these. But do research them out so that you can get your own take.

1. The Rule of Thirds or The Golden Rectangle?

The Rule of Thirds is kinda of a bastardized version of The Golden Rectangle.  

  • Golden Rectangle(The real rule of thirds…)  This one is so easy to apply if you know of it and especially if you have Adobe’s Lightroom.  This includes The Golden Spiral and the Fibonacci Sequence.  
  • Here is a great article that fairly simply explains these: Golden Rectangle

And another that explains how to use and shift between these in Lightroom.


2.  Eye Trail.

3.  Colours: what colours come forward and which recede.

4.  Shapes

5. Perspective and vanishing point - themselves and in relation to golden ratio 

6. Focal Point
(Focus: definition, n, “ … or a point at which converging rays would meet…”, “… in figurative use, a central point, as of attraction, attention or activity”
Focal: definition: a. ‘of or pertaining to focus’)  So, Focal Point would the point of focus.  There are various ways to lead the viewer here. 

Decide where you want the viewer’s eye to land — that will be the primary area of interest in the painting or photo known as the focal point. A properly designed composition will lead the viewer’s eye right to it.

“Although this is more relevant in landscapes than still life paintings, your focal point should be supported by your design and the value patterns that lead up to it. Elements of color, value and directional shapes should be employed and emphasized so that there is a pathway leading around your painting to the focal point.

The eye will automatically be attracted to the area of the painting where the lightest and darkest values are in closest proximity to each other. If the values are scattered and don’t offer any type of path toward the focal point, the viewer won’t know where to engage with the painting.  Notice how the perspective lines of the fruit, flowers and sidewalk in Flower Dude (above) lead the eye directly to the figure, which is the lightest value surrounded by the darkest value. The viewer’s eye is immediately drawn to the strongest areas of contrast in the painting. Use this strategy when establishing your focal point.” Artist's Network

Cropping

Don’t be afraid to crop.  Also, when you are taking a photo, your camera is taking a rectangular image of around 3:2 and you may want a sort of panoramic or a much wider than taller final image.  Take a wider image, a photo from much further back and allow yourself to do that long wide and short crop.  If you are not completely sure what you want take a couple of both and mess with the images later in the darkroom.

I have gone back to some particularly favourite photo shoots and re-edited some that I thought were mediocre and cropped in different ways to find gems.

Roads and railway tracks are commonly used to lead to a point on the horizon and give the image perspective. Do you want your eye trail and perspective to lead the viewer to focus on the very centre of the photo or to one of the points of the Golden Rectangle or Golden Spiral?  And why? Or why not?

Perspective 

Definition: II,n, … also, the art of representing solid objects on a flat surfaces as to give them the same appearance as in nature when viewed from a given point; … hence, the appearance of objects with reference to the relative  position, distance, etc.; - The New Century Dictionary, Volume 1, Copyright 1927

Change your perspective when you are shooting.  You can shoot low, so the main subject is above the horizon.  Or you shoot from higher so that the subject is below or partially below the horizon.  Perspective can create a huge difference with the appearance of the length of peoples legs. Shoot high, shoot low?  You will find that when photographing people standing, models for example, that if you shoot higher, their legs will look shorter than if you shoot from a lower perspective.

How did the Renaissance painters create perspective?

"The mathematical precision of architectural linear perspective, applied to painting, allowed Renaissance artists to create a sense of real dimension in their work. By painting subjects so that they became smaller and appeared to vanish into the distance, artists added depth and the illusion of rounded, whole shapes to flat stucco walls or canvas. The paintings seemed to come alive, to show real life and people, not two-dimensional painted shapes. Blurred edges on distant objects mimicked the effect of the atmosphere on what the eye could see. Vivid color in the foreground, gradually fading into murkier blues and greens in the background, enhanced the "distant" vista. Another perspective trick, planar perspective, separates a canvas into planes. In Leonardo's "Mona Lisa," the foreground is the colorful figure, the middle plane is a distinct section of brown and green trees, and the distant plane is mostly blue."   (copy and paste this link if you like: https://www.ehow.com/facts_4897120_techniques-used-renaissance-art.html)

Horizon

This ties into perspective.  Where do you want the Horizon?  If you have it in the middle of the photo most of the time it will look boring.  Raised or lowered to the level of the line of the Golden Rectangle will give it a greater dynamic.  

COPY FAMOUS PAINTINGS

Easy Oil Painting

This is a great drill.  Whether you are applying it to painting or photography.  Take some piece you like or has the technique or techniques that you would like to emulate and copy it.  Do this more than once or twice if you need to as you get comfortable with the process.  Never discount the importance of drilling.

And there is the whole subject of lines and shapes and their directions.  What feeling or emotion will a certain line or shape elicit?  

A flat, horizontal line could be considered calm (or even boring), a very neutral mood.  Like this photo below:


A line or figure rising to the left or to the right may elicit different feeling.  Using perspective, colour and vanishing point, with certain lines, you could show something either receding or approaching.

If you know these and other rules and you are studying really great photos, whether they be fashion photos or action or landscape, you will have a much better understanding as to why they are good or great shots.  And why others are just not.  

One would not always use all of these techniques all of the time but knowing of them and where they would be used can take your photos, whatever type, to the next level. 

Take the time to be professional.  There is so much good, useful information out there.  Examine for yourself what, of these techniques and skills, will enhance your art.  Use the technical to increase the quality of your art. 

*The term renaissance means “rebirth” and is the period in Europe’s history right after the Middle Ages. During this time, society during turned to classical teachings, world exploration, and cultural achievements in language, art, and science. This period was rooted in Italy and lasted from the 14th Century until the 17th Century AD. It provided an important stepping stone into modern history. Wealthy patrons from Florence sponsored writers and artists so that they could pursue their interests. This renewed knowledge of ancient Roman and Greek cultures gave way to humanism, the appreciation of human achievement and expression. Artists employed these principles in their work.[/read]

Posted by Martin in Blog, Photography Tips, 0 comments
3 Basics My Mother Taught Me About Photography

3 Basics My Mother Taught Me About Photography

3 Photo Basics My Mother Taught Me

Photography 101: 

Or 

3 Things My Mother Taught Me About Photography

Mom was a pretty decent photographer.  She was first a single mother of 4. In 1978 when she was moving to Denmark and getting remarried, 
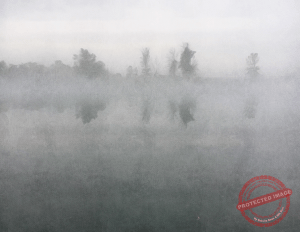
her very talented friends threw a going away party for her.  It was a ‘song and dance’ skit that ran a good hour.  Her friends were a bunch of very talented people.  I still have the cassette tape of it around somewhere. The theme was ‘Courses’.  My mother was always taking courses in something or other.  Whether it was French, photography, or taking up skiing when she turned 50!  

I asked her once about the fact that she volunteered to drive cancer patients, people she didn’t know, a couple of times a month.  She would drive them to and from their treatments. She told me she felt she “needed to give something back to society”.  !?!?

She obviously learned something in her photography classes as she won a couple of contests for her art. One was for a naked grandson when he was about a year old - I don’t think that would go over so well in this day and age!

As a youngster I’d carry a camera around with me a lot - an old Brownie 127, I think it was.  Not sure the exact model but it was 2 1/4” negative.  Much later I got SLR cameras but as kid it was the Brownie with the black and white film.  I got some great ‘horse’ photos even then.  Learning with a large negative camera was kinda cool.

Here are a few things my mother would constantly remind me of, as I learned photography.

Rule #1: Watch Your Background

This one was hammered into me.  Almost often as the poke in the shoulder to stand up straight!  The idea here was that you didn’t want a telephone pole or church spire sticking out of the top of someone’s head when you got the photos back.  Taking pretty photos of flowers in the back yard, you didn’t want the neighbour’s laundry hanging in the background.  Well, I didn’t anyway!

There was more to it than this really.  It made you look at the complete photo as opposed to focusing on just the person or cat or dog that you were trying to capture.  As a result, I would move to one side or the other, up or down and sometimes closer or further.  This had the added effect of seeing light and how it lay over the whole image.  How it changed.  As a child I could see that there was more than one way to shoot that object or scene.  Something as simple as crouching down as you are taking photos of small children.  It completely changes the intimacy of the relationship between child and photographer.  I find that now, I will walk the extra ‘mile’ to get a different perspective on scenery without thinking about it.  They always don’t turn out but I’ve had exclamations from enough people about my photos over the years by applying this one rule.    

This also would allow you to look at the photo as a whole.  I watch tourists in even in Niagara Falls concentrating on one part of the photo - either the person or the Falls.  They don’t ‘stand back’ and see the whole photo.  You might have someone standing by a tree.  If a large overhanging tree, you could use it to frame the person.  Or have them lean against it, having them interact with the tree, making it part of the photo instead of just another thing cluttering up the picture.

Rule #2:  “Add some red.”

This ‘rule’ made sense to me in that I could see in photos that had something red - that colour became the focus or there was at least something about it that gave perspective to the overall image.  The color red could draw you into the photo or give some depth to an otherwise bland image.

Warmer colours like red, orange, yellow and the in-between shades of these come forward or appear to be closer.  Cooler blues and greens will generally appear further. 


This tends to mimic the reality of the fact that things in the distance tend to fade to pale blues and greys.  

And to belie that rule, brighter, intense and more vivid, of whatever colour, will appear closer. 

Try putting certain colours in an otherwise monotone photo to see what happens. 

Rule #3: Don’t Cut Off Their Feet.

This by itself is a simple but important rule.  When the feet are cut off at the ankles, it makes a standing subject or subjects look as though they are going to fall over.  It looks terribly unnatural.  When shooting a full body photo of someone standing try and make sure that you include the feet.  If you want to cut things short of the feet try above the knee or the waist.  If you are trying to include background try changing the angle, how high or low you are shooting from.  

Part of the issue with photos like this, where you have someone standing at attention facing you, well, it makes for an incredibly boring photo anyway.  It doesn’t lead you into the photo.  There are numerous ways that you can make it more interesting many of which only take an extra few seconds.  

If you are trying to get your subject in front of Niagara Falls, have them turn sideways and look at the Falls.  It will likely be easier for them to have a relaxed visage and smiles will be more forthcoming.  You can also have them sit or lean against the rocks that hold the railing.  This as I mentioned earlier with the tree, the overall look will have them interacting with the environment as opposed to be just standing there completely separated from it.  This has an added benefit of distraction.  When people are just standing there, they often don’t know what to with their hands, face, etc.  Have them leaning, pointing, or touching something or someone.  This can be used to help pull the viewer into the photo as well.  (Eye Trail)  Create different moods with expressions at the same time, even in the same series of photos.  Smiling, puzzled, serious, moody….  

So, to recap: 1. Watch Your Background; 2. Add Some Red; 3. Don’t Cut Off Their Feet.  These all pretty much add up to observe what you do.  Try different things, change the angle, change the pose.  Then take a look and compare the different photos to see what you like best.  

Some Horse Photography

#beginnerphotography #skills #novice

Posted by Martin in Blog, Photography Tips, 0 comments
A Model’s Job vs a Photographer’s Job

A Model’s Job vs a Photographer’s Job

I've read numerous articles and comments about who should bring what to a photoshoot.  I read a comment recently where a model was asking about poses.  The comment was that the photographer will tell you what he or she wants.  That can be true to the extent that a photographer may have an exact vision of what he wants and will give very specific instructions and direction.

Often, though, if the two are doing a model shoot(testing - TFP) there may not always be something specific planned. Either way a new model should learn some basics.  Years ago when learning I had a chance to work with a professional model where previously I had been working with people who were learning.  We were shooting a wedding gown for a client.  Once finished, we had a bit of time and so we decided to a couple of rolls of regular film.  (Yes, this was before the digital era.)  I shot two rolls of 24 (48 pictures).  She gave me a different pose and look after each click of the shutter.  Every shot was fantastic and it took us all of 15 minutes.

I asked her afterward about this ability.  She said it was hours of practicing in front of the mirror.  This was for her facial expression and her body pose.

So, I suggest as a model or soon to be model: get a full length mirror if you do not already have one.  Look in magazines for poses that will work for your body.  Get at least 10 poses that work for you.  More if you can remember them.  And try different facial expressions.  I have seen what otherwise would be a great shoot but the expression on the model's face is exactly the same in every photo.

For a genuine smile that gets all the way to the eyes, check out this video by Peter Hurley about the 'Squinch':

Now, if you are shooting a model in an evening gown, poses would likely be different from the poses used for a bathing suit photoshoot.

Spend time in front of the mirror.  There are tons of samples of poses online - try Pinterest.  Work it until you have several standing, sitting or laying down.  The photographer may ask you something to tweak the pose but by bringing a number of good poses that you already know work well for you, the photographer can work on light and shadow and getting these perfect for the shot.

Another video that needs to be watched by anyone getting their picture taken is this one:

It is also by Peter Hurley. Practice this until it is second nature.  Again, I've seen more pictures ruined by a double chin where the person is trying to look cool or sexy and they have not looked in a mirror to see what it looks like ahead of time.

All this observation of yourself in front of the mirror will also help you get a better idea what type of clothing works for you; what hides curves you want hidden and what enhances curves that you want enhanced.  What poses make your legs look smaller or larger depending on what is needed.  A little bit of side advice here: don't ask your friends to tell you what looks good or doesn't.  This is your job; you are the professional; you need to get your judgement to the point where you are certain. And that comes from observing and understanding what works and what doesn't.

If it is your first photo shoot or so just start with a few and try and increase your list of poses as you go.

The photographer should be bringing his or her skills of lighting, framing and knowledge of the camera and similar tools.  Make each shoot a collaboration.  This may change if the photographer has something very specific in mind.  In this case he has likely hired you for a specific skill set or look.  But have some 'stuff' up your sleeve so you can contribute if asked upon to do so.

Posted by Martin in Blog, Photography Tips, Portraits, 0 comments