Save that cut out image to your image folder.
I usually make a duplicate of that cutout in case I mess up in the painting step.
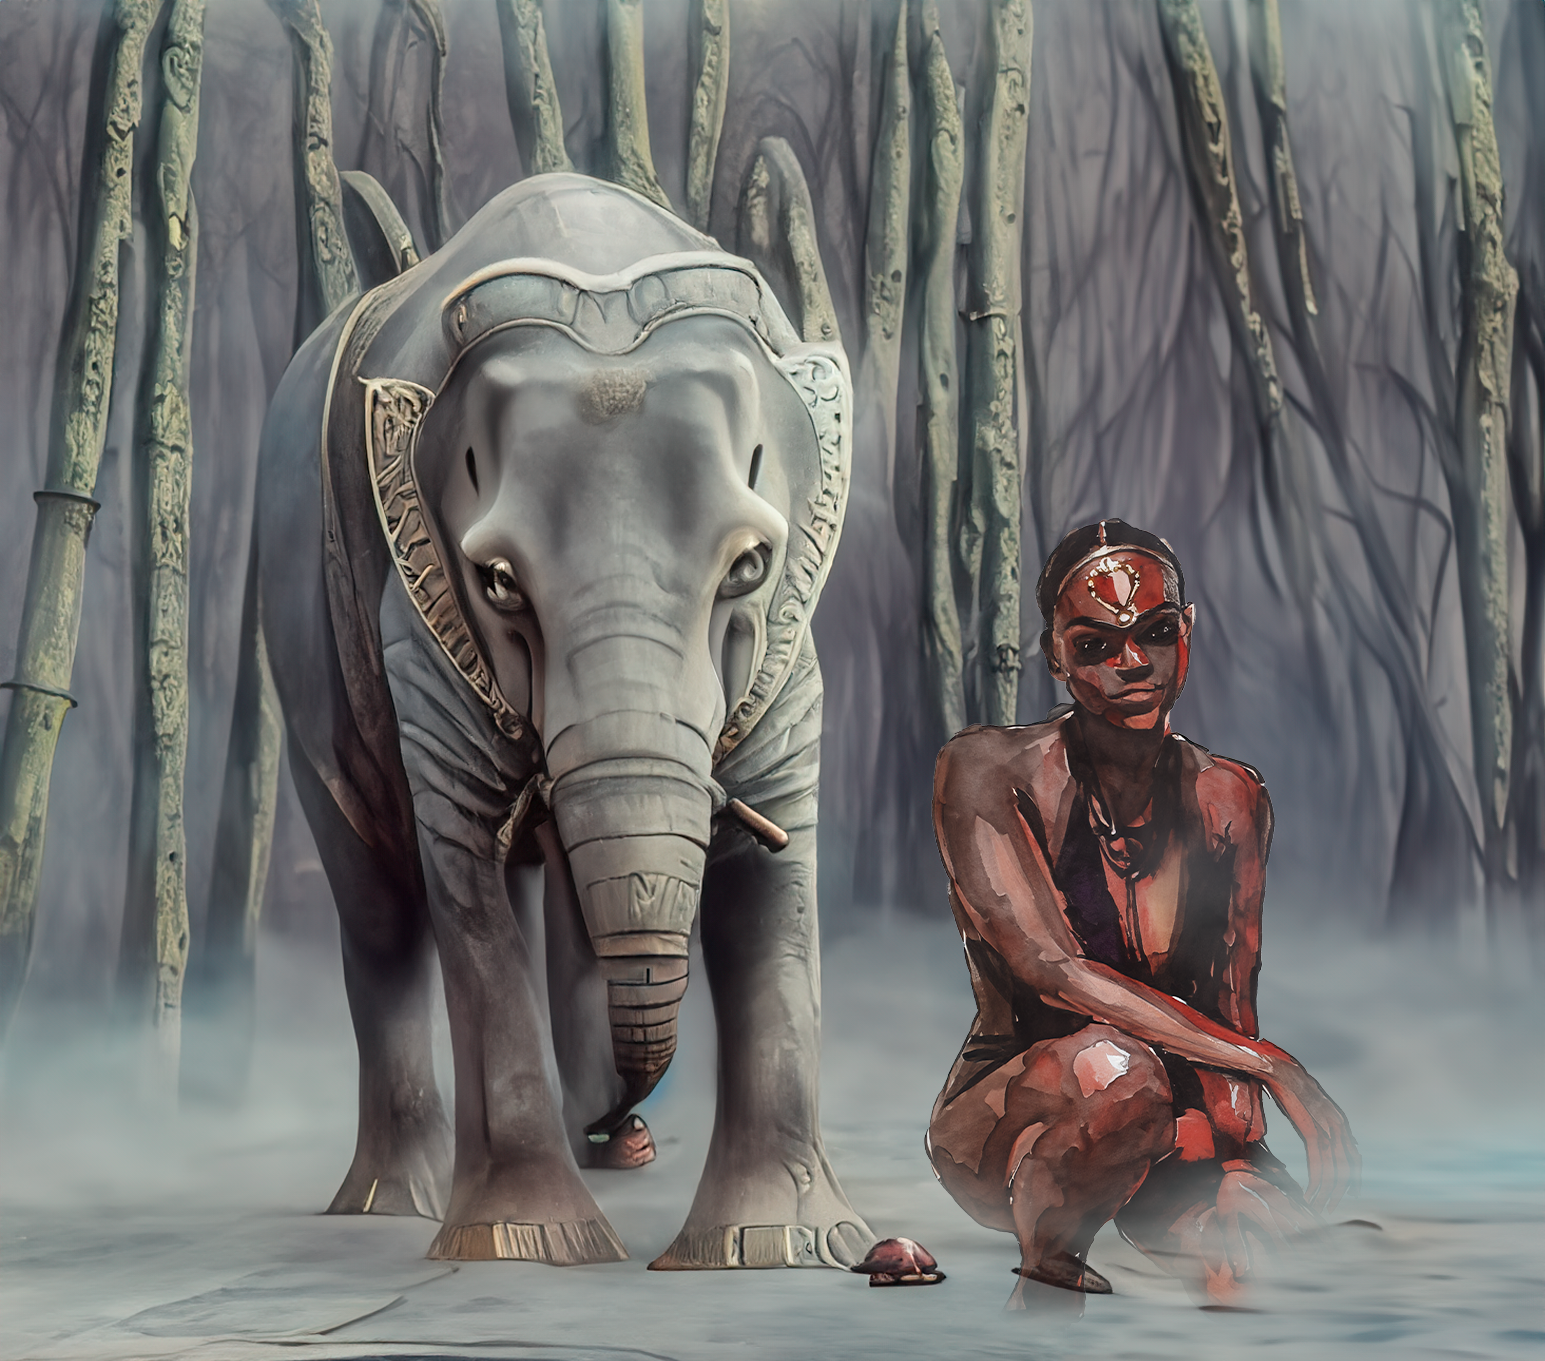
Then I use brushes on the image. There are legacy brushes in Photoshop. I started with these. Using the Mixer Brush Tool allows me to use and spread the colours of the image. Use the settings along the top to how much you want to ‘load’ or not on your brush. How ‘wet’ or ‘dry’ etc. That’s a matter of learning the settings and what you like or not.
Adjust your settings to use the colours of the image, how much to load, etc. That part takes practice in finding what works for you and will likely be different for various parts of the image over which you are ‘painting’. First couple of times I did this, I used one brush for the whole image adjusting size and sometimes orientation.
Later I started searching out other brushes to use. There are lots of free brushes one can download.
You can also make your own brushes for photoshop.
Over time I’ve downloaded numerous brushes. Not all do I find useful. Fortunately, there is a way in the brush settings to move the brushes around so that you can create your own brush sets. Put your favourites on one or two places and label them as you like.
That doesn’t stop my search, though, for the best brushes. There are so many free brushes out there, it is kinda overwhelming. I’ve never really painted with real paint and hand held brushes. I might be able to now.
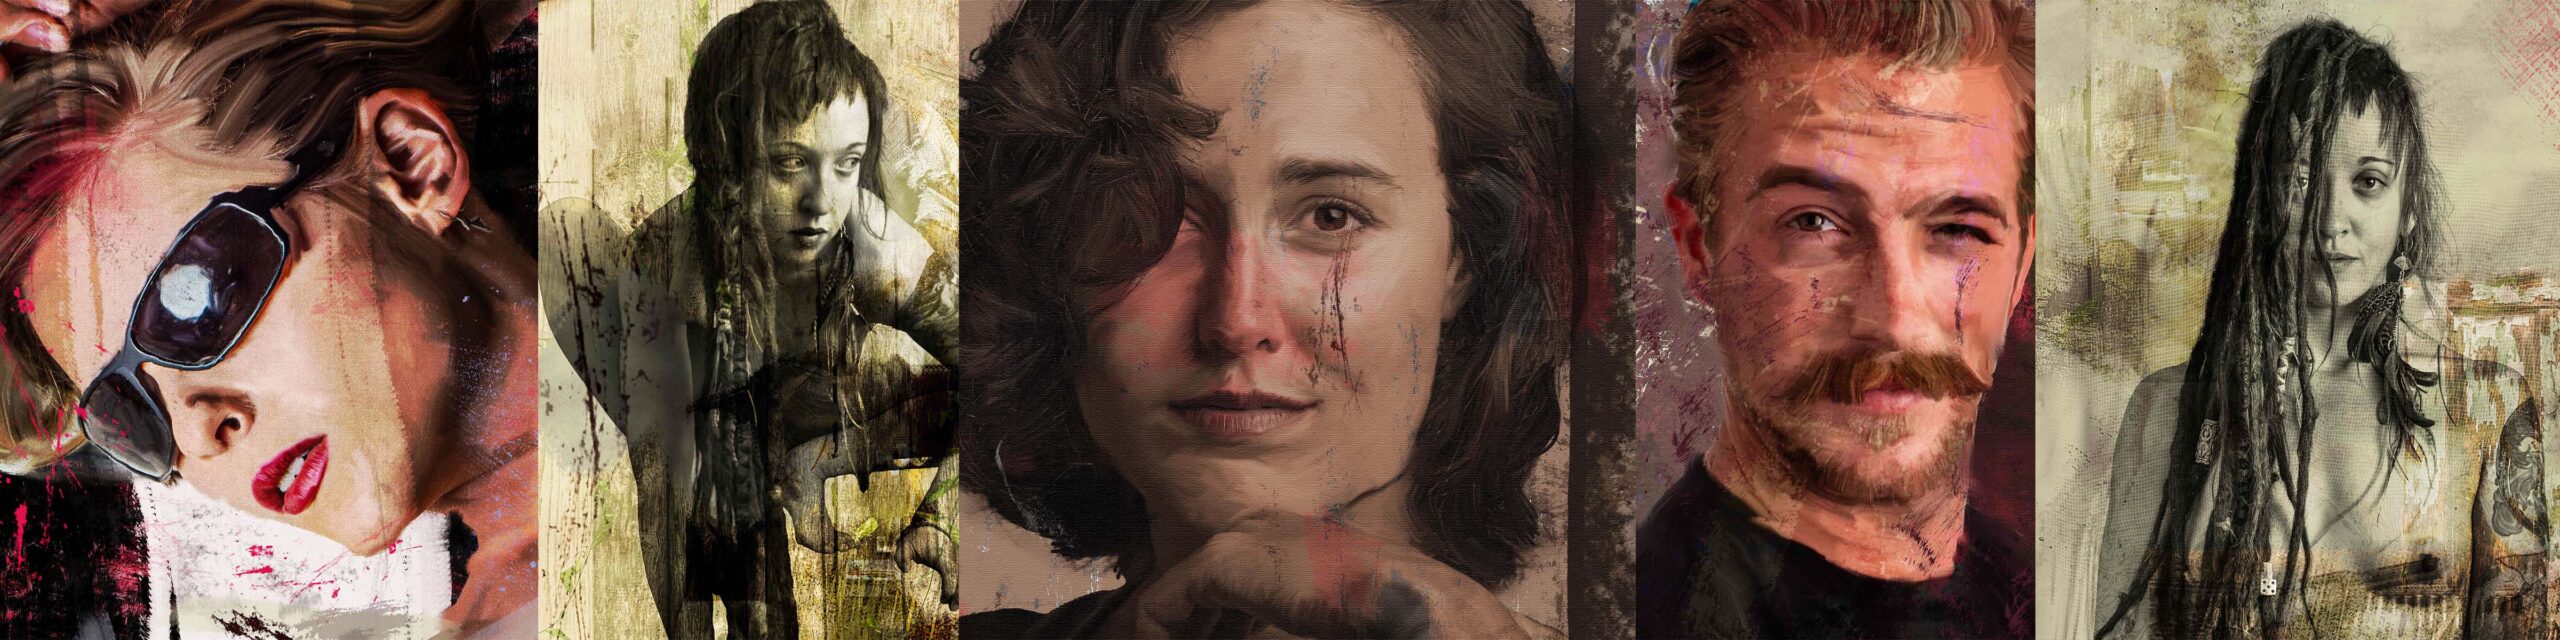
This technique of covering each square centimetre of your painting with a brush stroke is time consuming. But with patience, I get what I want. And as I practice, I get closer and closer to what I have envisioned for each piece. Sometimes I’m not sure where I’m going and let the “paint” and “brushes” take me. Love the process of learning.


 leaves, I would likely use the same procedure.