1. Watch your background
Keep this simple at first. Watch for things sticking out of the top of someone’s head. Ideally, you don’t want distractions. For example, if you are taking a portrait, usually you will not want other people waving in the background or some similar photo bombing. Ask yourself the focus of the photo. If you are trying to communicate something about the background, you want to show off Niagara Falls, then fine make sure that is there. But even then, I’ve seen too many pictures of someone there or some other travel location where you can hardly tell who the subject is. If you move in a little closer and get a shot of the person with the background showing but just a little less of it, you will make a better photo. Try two or three distances to your subject from the camera and see which you like best.
One often sees a photographer building some elaborate background for a portrait or a model. Usually, the subject(person) stands out in the photo with the background not being a distraction but a complement to the subject of the photo. I’ve seen photographers starting out by  trying the fancy backgrounds which become distracting and take away from the individual they are trying to shoot. So, my advice to someone starting out it to start with the simple and build once you have mastered lighting and framing for your subject.
This can change as you become more skilled. You may want to use the set or background to set a tone or to create a ‘period’ piece or a much more comprehensive and communicative portrait.
2. Put some colour in an otherwise monochrome photo.
This can make an otherwise boring photo really pop. If you are shooting children at a beach for example; if you can plan ahead, take a red or yellow beach ball with you. The beach is nice but not generally very colourful. Place some colourful sand toys or a beach ball or solid red Muskoka chair near or with the children and try some different angles that also show the beach.
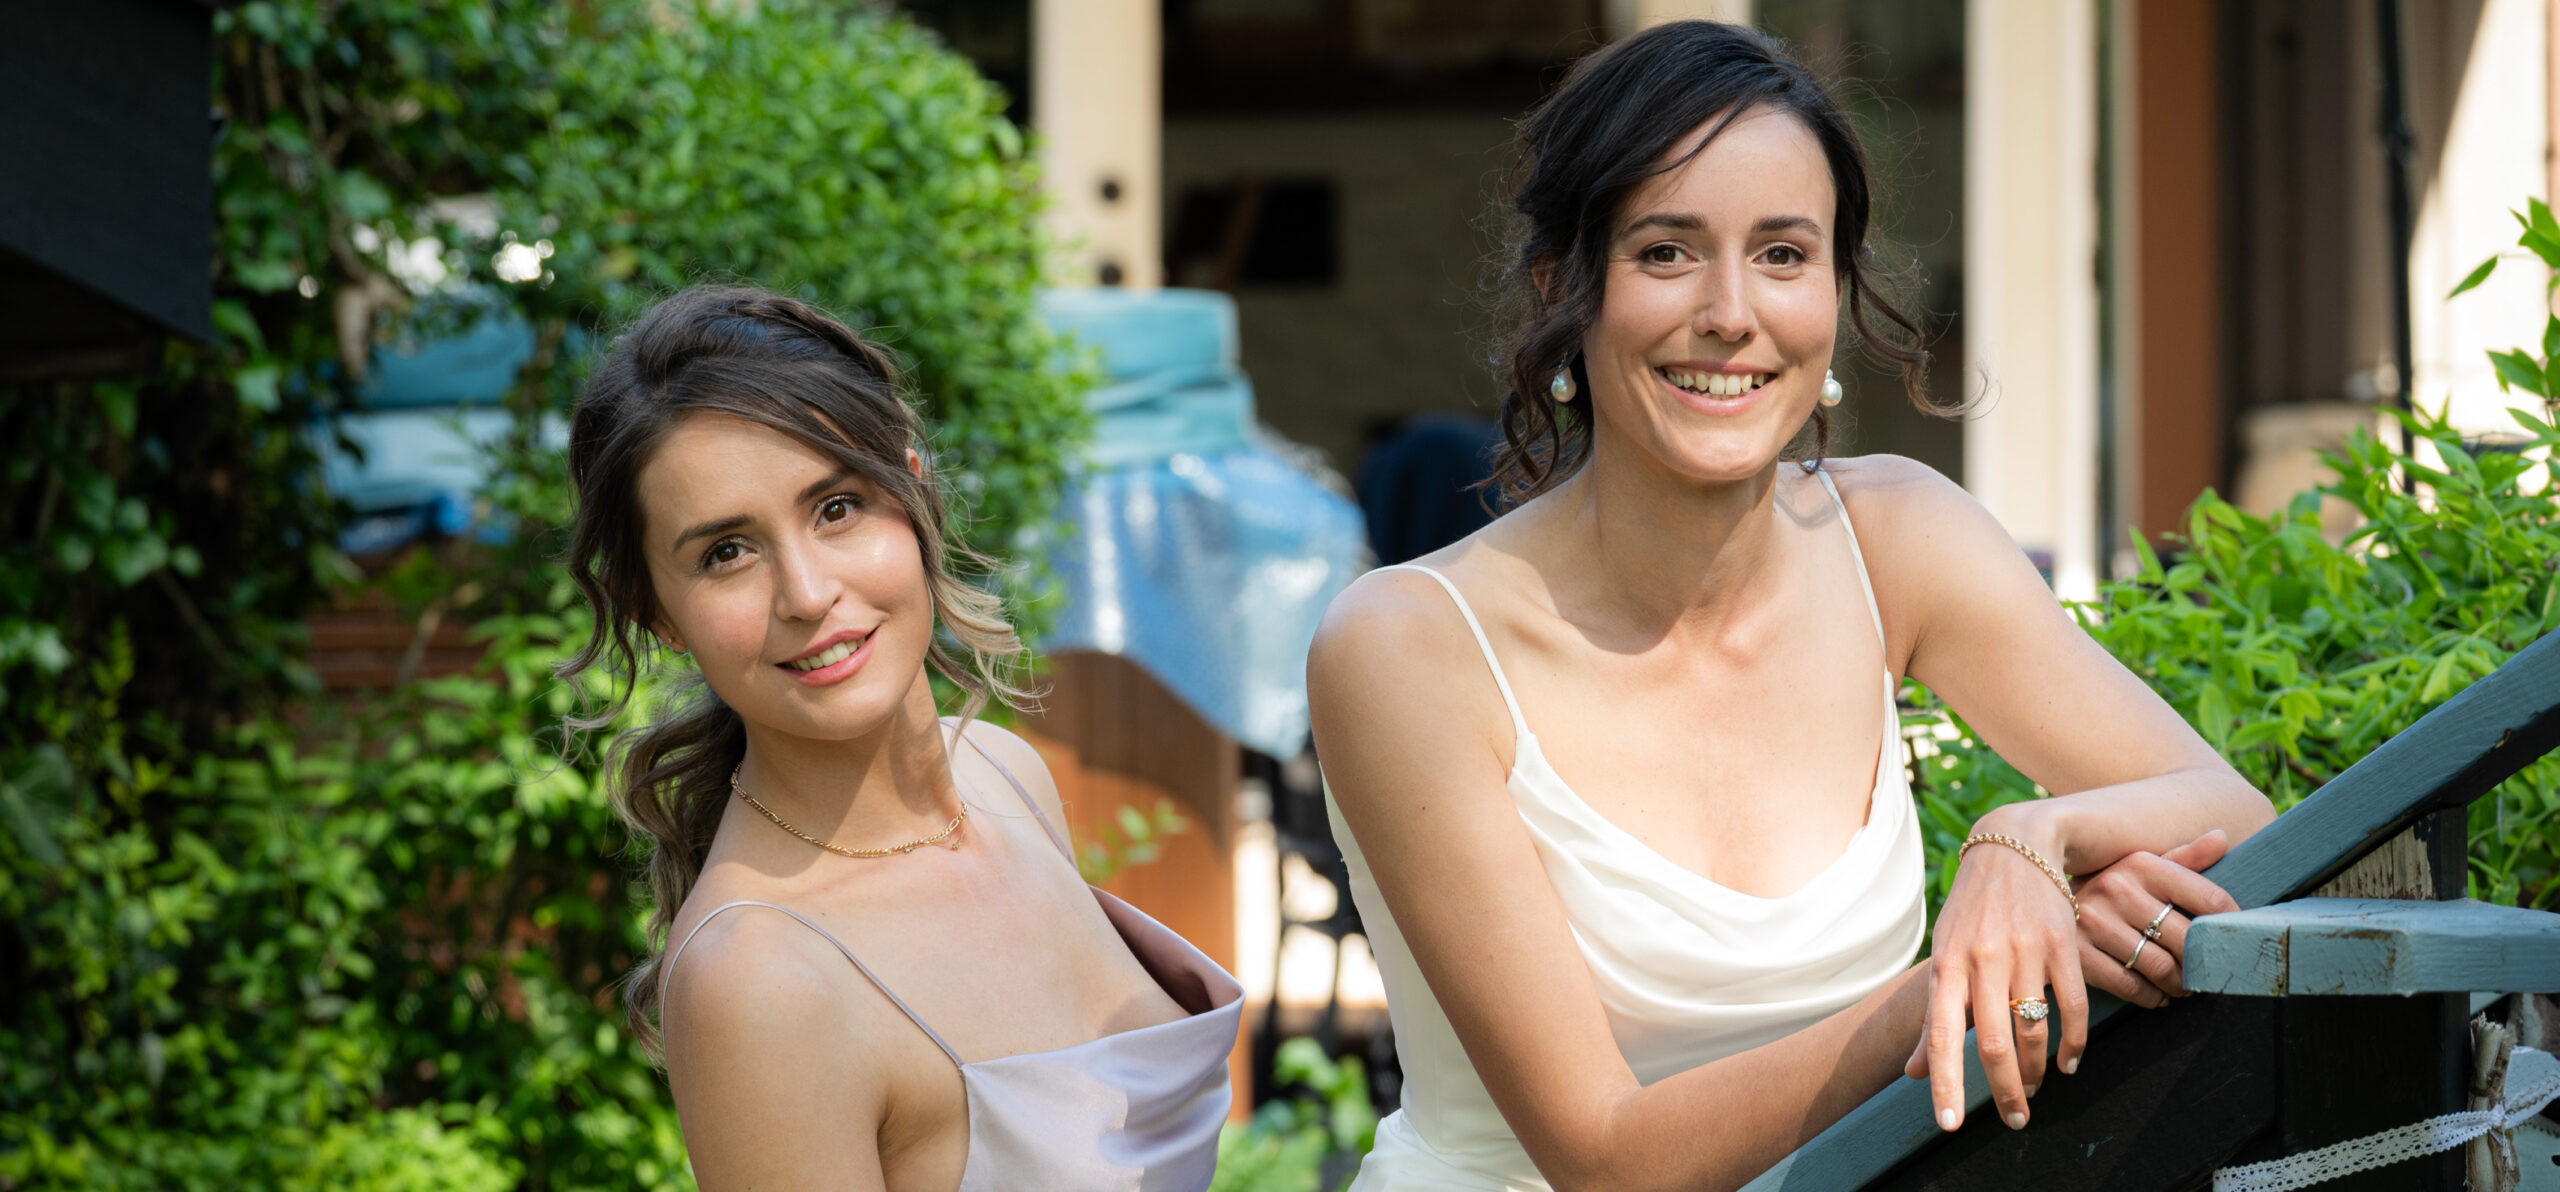
![]() There is a very good article here on using red with some good examples. Don’t limit yourself to red though. Try a couple of the other primary colours as well.
There is a very good article here on using red with some good examples. Don’t limit yourself to red though. Try a couple of the other primary colours as well.
3. Don’t cut off their feet.
This one drives me crazy. It seems the people are too much of a hurry or just don’t care. It could be that they are undecided whether they are taking a close up photo or one that takes in the person who is the subject and the background as well. I do understand how it happens but the final photo always looks distracting and unbalanced. Often people are trying for a full body shot with whatever background and do not notice that they are not including the feet in the finished photo. Either move in a bit and cut them off at the waist or move out or lower the camera a bit to include the feet. I personally prefer the ‘move in closer’ photo. This can also be done afterwards by cropping the photo. But you are likely to get a better photo overall if you either move in and get the upper body or just head and shoulders with the vista you are trying to capture still in the photo. If you are using a fairly wide angle lens just move closer. You can also zoom in but in this case more backwards a ways to incorporate both.
4. Make them uncomfortable.
Simple really. I had a family early on that wanted a nice outdoor shot. Winter. The all stood in a row. Mom and dad on the outside and the two boys between. All looked very stiff and posed. I asked them to all crouch down. I took several shots while they were getting their balance. And even after they started to get a bit more comfortable with the pose they all had quite a bit of attention on maintaining their positions instead of their facial expressions. As a result all appeared relaxed and smiling. Do something to get their attention off posing. I wouldn’t tell the person not to pose or anything that puts his or her attention on the way their face or body is. You can do this with a pro to some extent but not with someone who is not used to getting their photo taken. You want their attention out not in.
5. Change the angle or view.
This can be with a portrait or scenic or anything really. In the studio several times I’ve walked to the side to adjust a light and looked at the model or subject of the portrait and saw the perfect shot from that angle – where the light was completely different. Try different things. Shoot a portrait high and shoot low. See what the different angles do to the shape of the body. Shooting a sunset at the beach, crouch or lie down and get really close to the water or sand or whatever. Walk over and shoot partially behind a tree. If you are shooting a waterfall, try from closer and farther away. See if you can get above it and try that shot.
Here is a good article with some samples: Camera Angle – Portraits
In all of the above types of shots, try and compare. Experiment and you try different things. Some will work for you and others may not. Find ways of shooting that appeal to you. If you take a couple of extra minutes to shoot the same photo a couple of different ways, you may find you learn a lot. Once you get home and can compare the two photos from the same shot, close up and far away for example, you will get a better idea as to what works and what you like or don’t like. Learn some rules and then break them. But learn them first. See if the photos are better or worse. You be the judge!